Working with characters & cast
Last updated:
You’ll find Cast & Characters in the sidebar menu under that name.
The Cast & Character section
In this section, you’ll find:
- A character list per character type
- Character pages including bio, notes, statistics, cast/character images, wardrobe section, makeup & hair section, item & props breakdown, items per scene list, and character continuity
- Atmosphere (background) groups and cast list
- Cast list with profile cards and contact information
- Cast Availability Schedule with Day out of Day schedule
- Daily cast schedule with automatic cast call information
- Cast & character report
3 ways to add characters
You can add characters through:
- Manually through the character page
- During script breakdown
- Importing a drama screenplay — the easiest and most common way
Adding new characters through the character page
Adding a new character
To add a new character, click on Cast & Characters in the right-hand sidebar menu, then on the blue button with Add character.
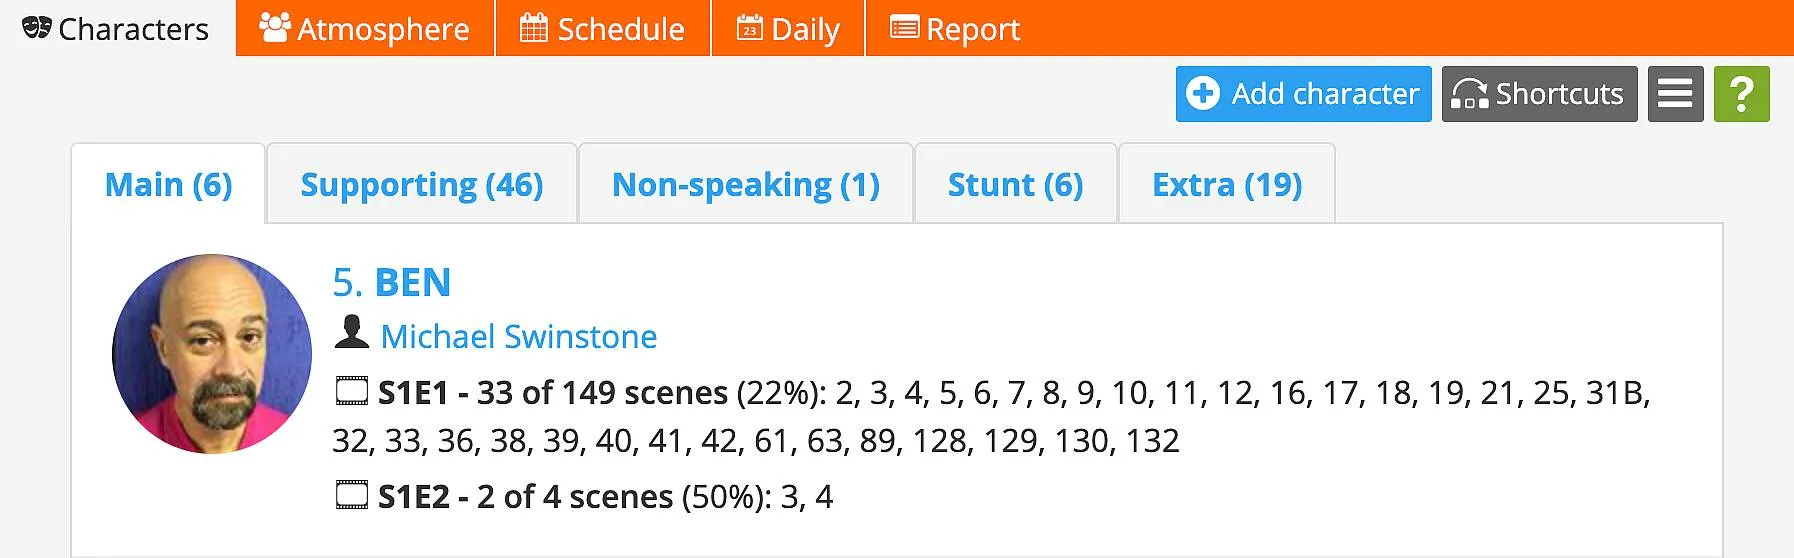
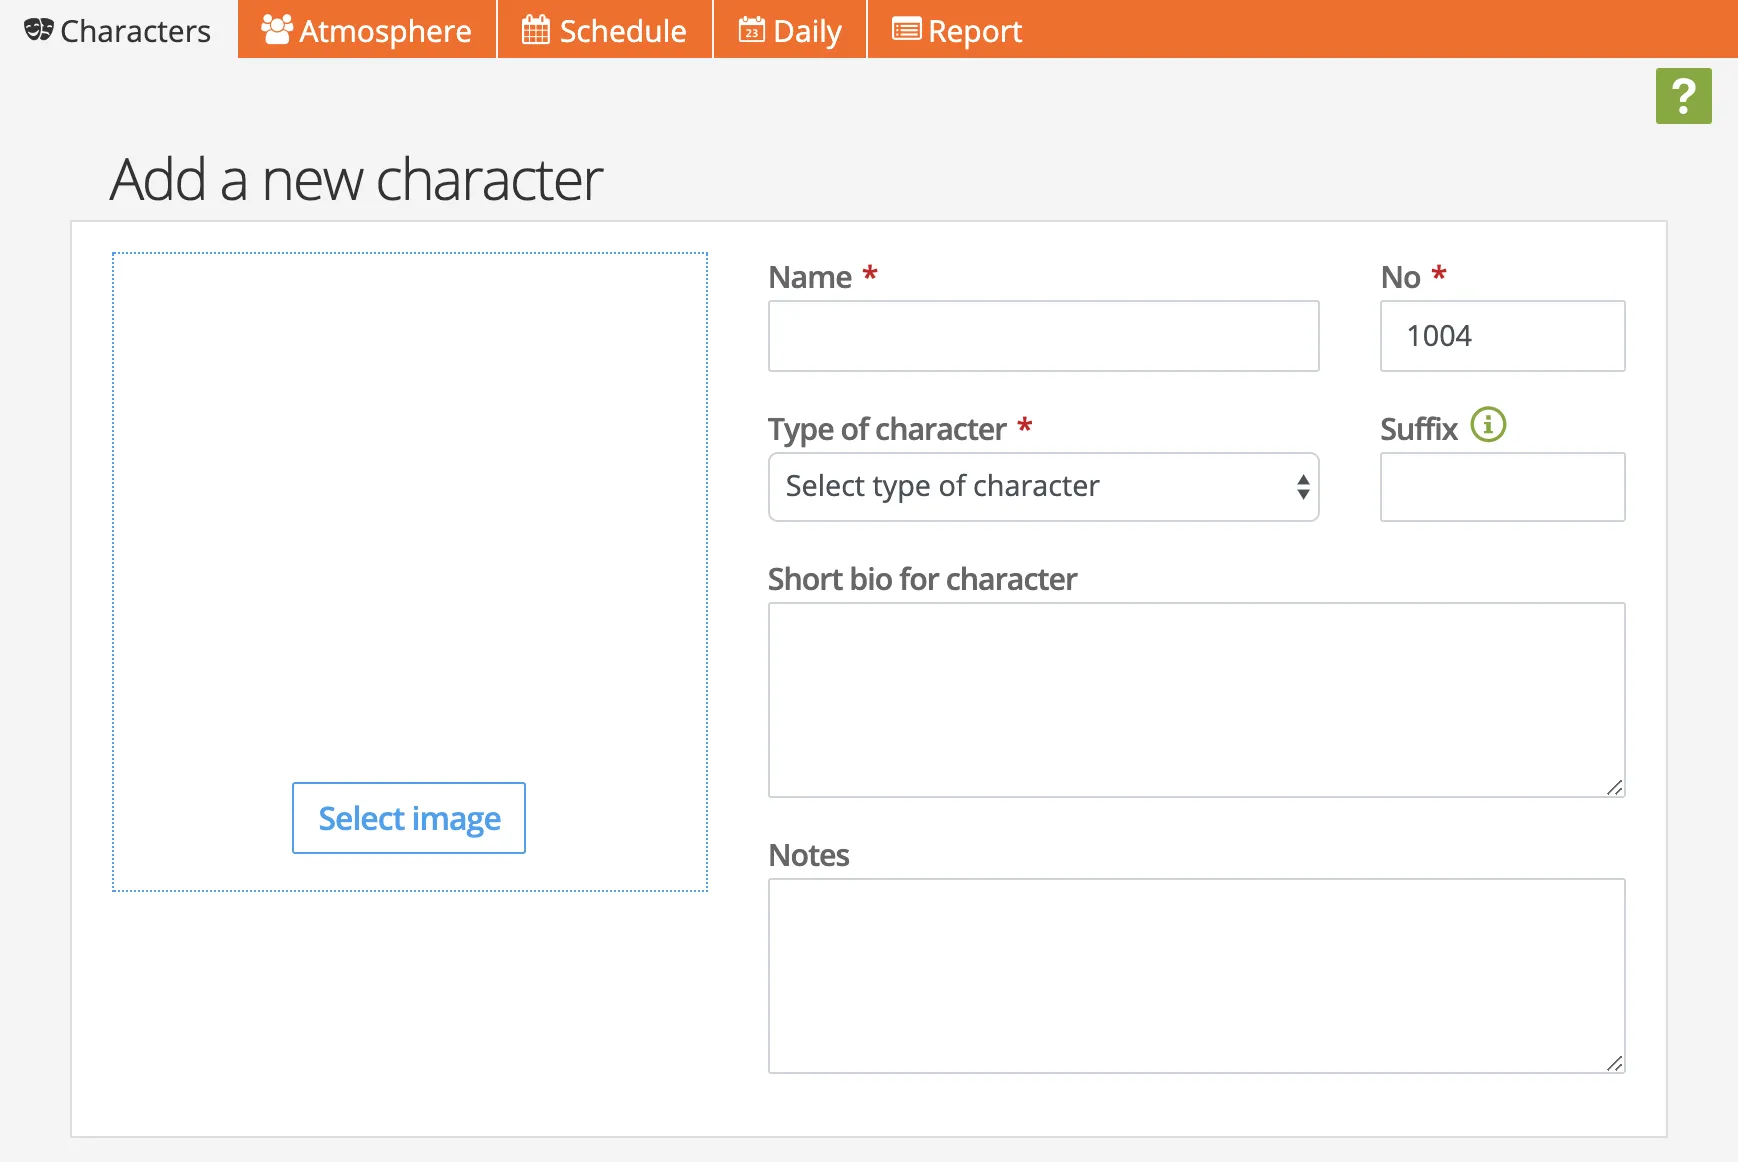
Flesh out your character
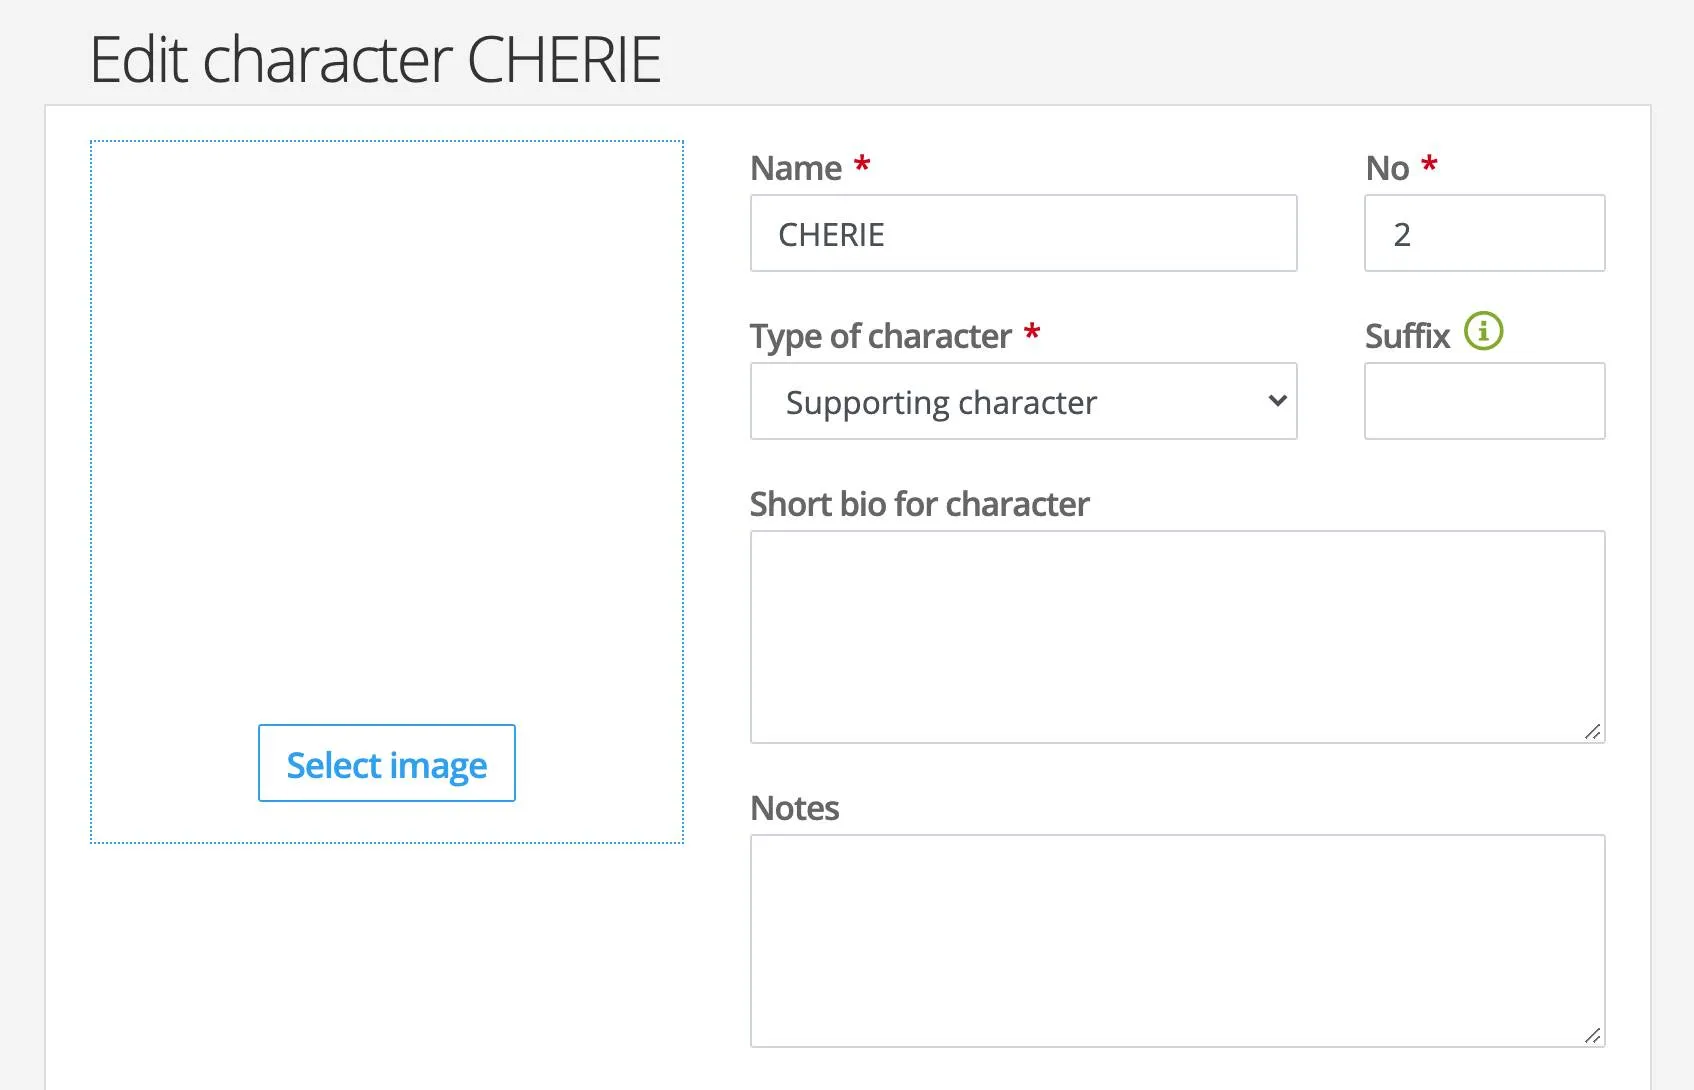
Only character name and type are required, but you may add concept images, makeup pictures, bio, description, or other info. Suffix is used when adding stunt persons, body doubles and stand-ins.
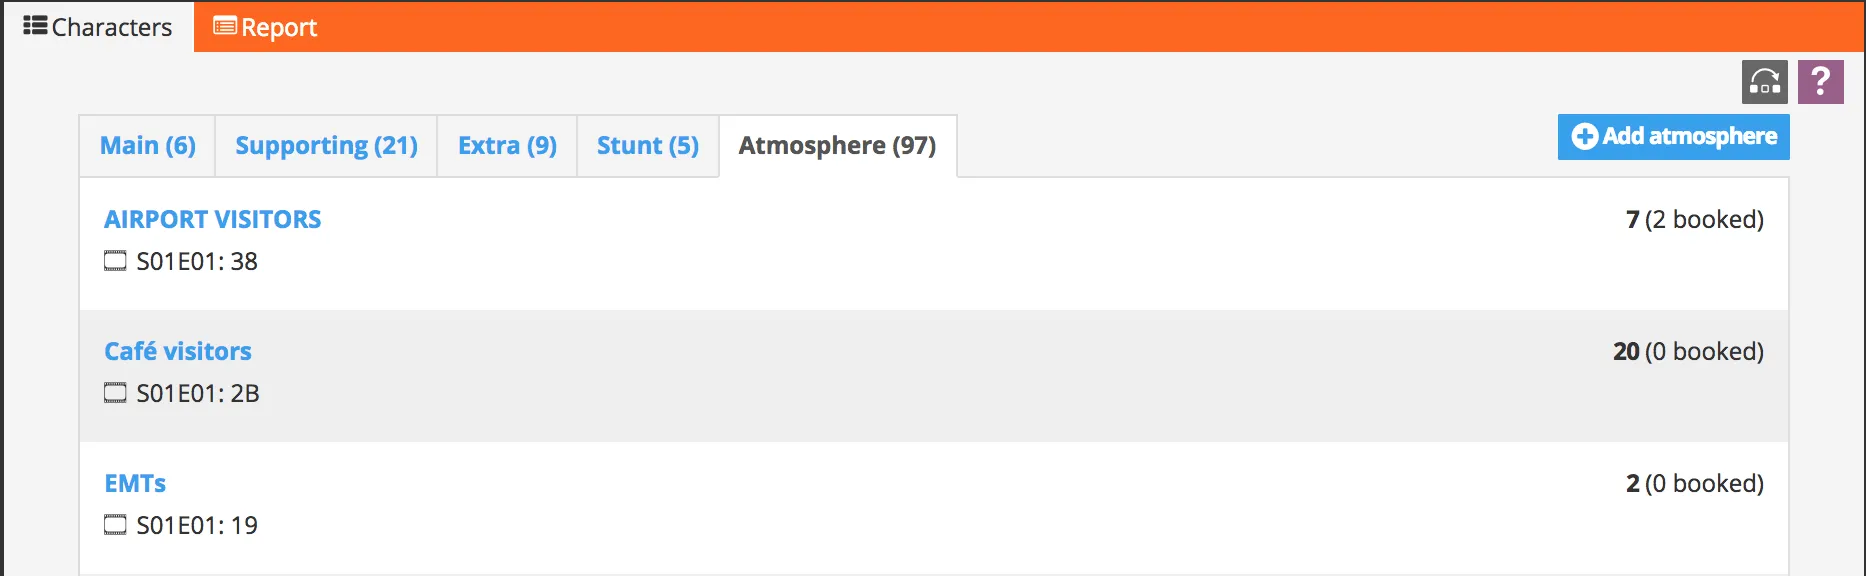
Adding atmosphere cast
To add atmosphere/background cast, click on the atmosphere tab and then on Add atmosphere.
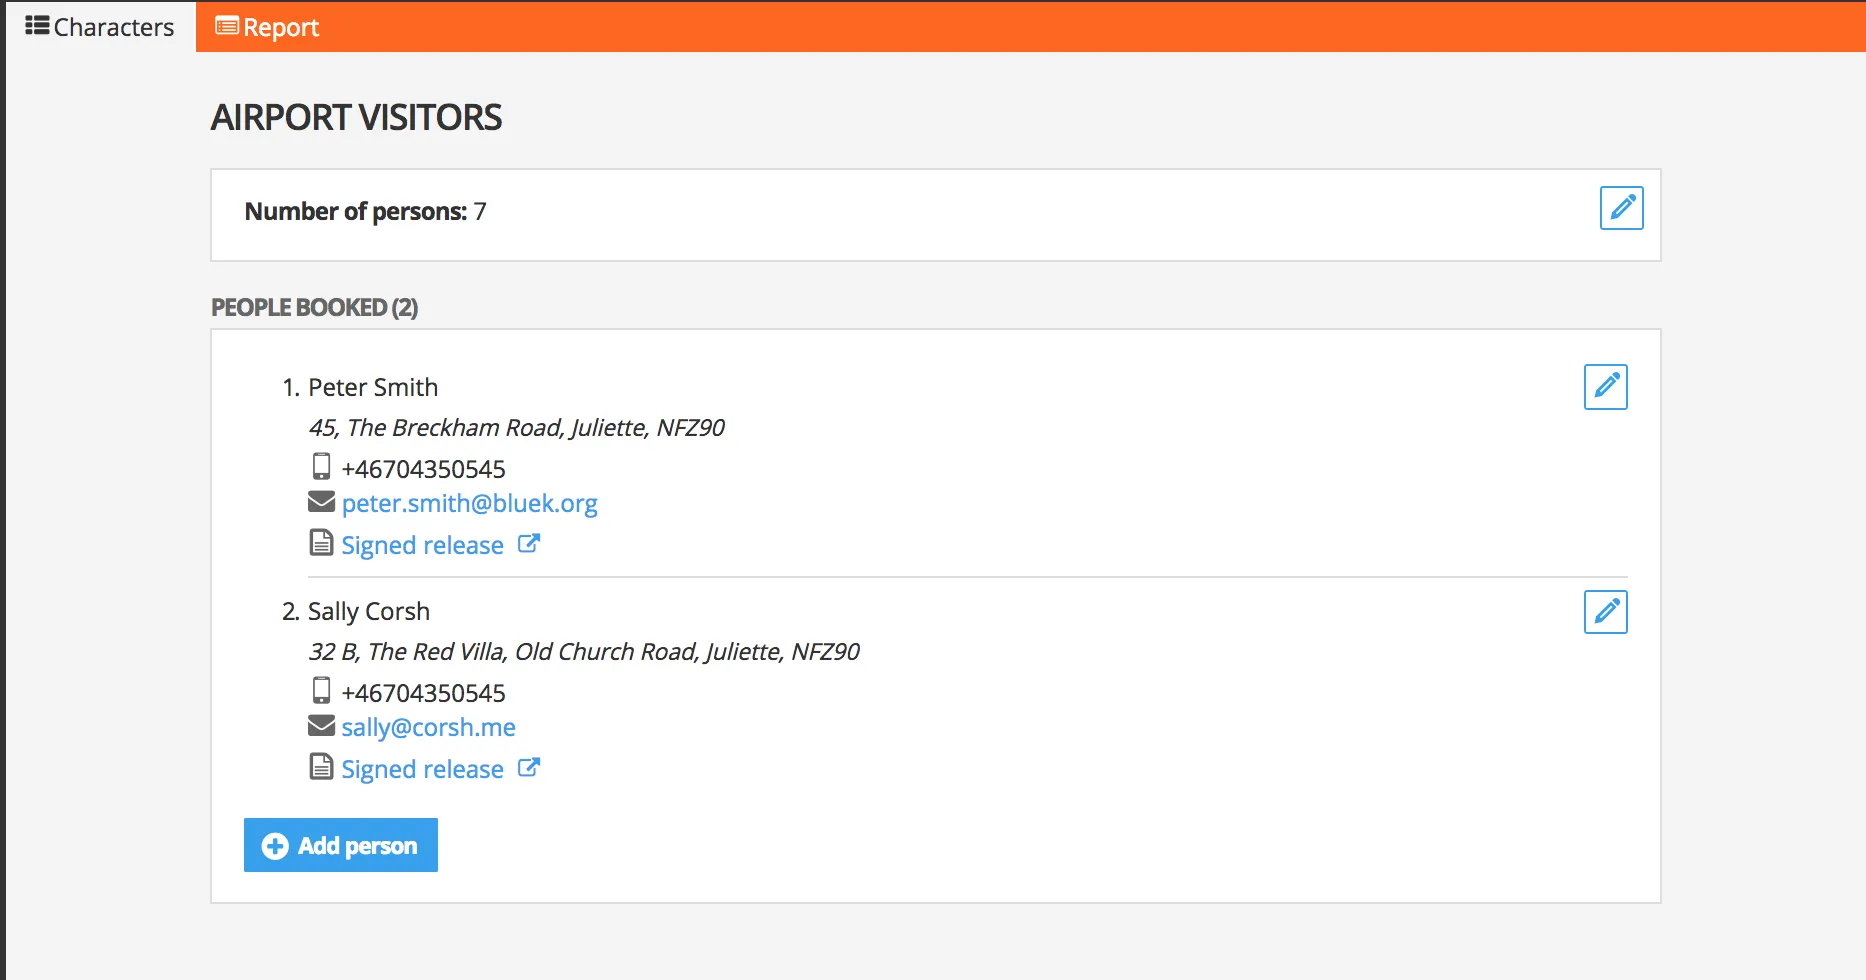
You can specify quantities needed, add booking details, contact information, and upload releases. This data appears automatically in Daily Production Reports.
Managing imported characters
When importing screenplays in .fdx format, you’ll see all characters with dialogue. You can skip characters or conduct a mini-breakdown.
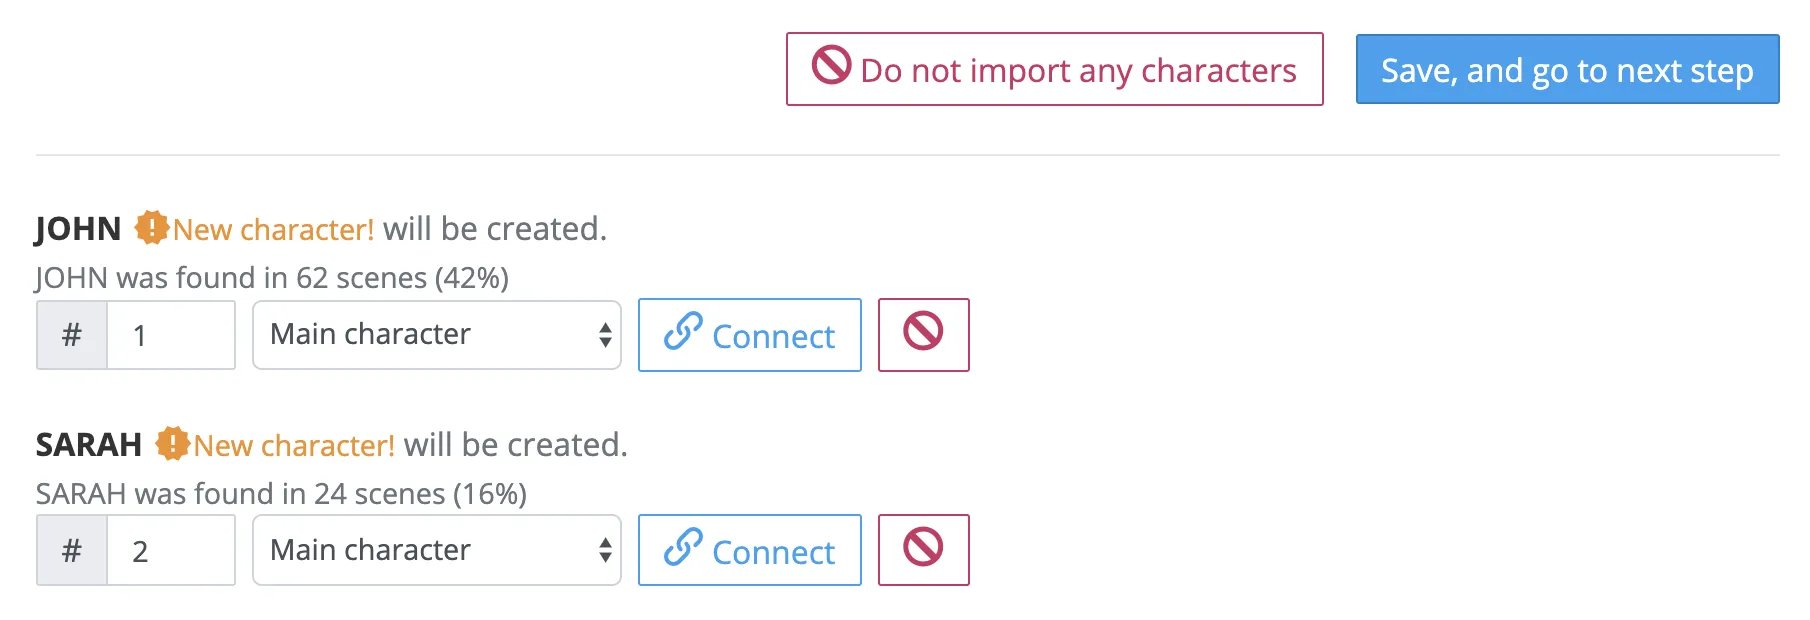
The system will automatically suggest a character type based on participation frequency percentage but you can always change that manually.
You can merge misspelled characters using the Connect button and dropdown menus labeled “is a misspelling/duplicate of” or “is existing character”.

Important: Dramatify does not make any script changes. If you decide not to import a character, it simply means it does not show up in the character list.
Re-importing and synching characters
If you import a rewritten screenplay, many characters already exist. Dramatify is smart and will find new characters and not import existing characters.
Adding real people as characters
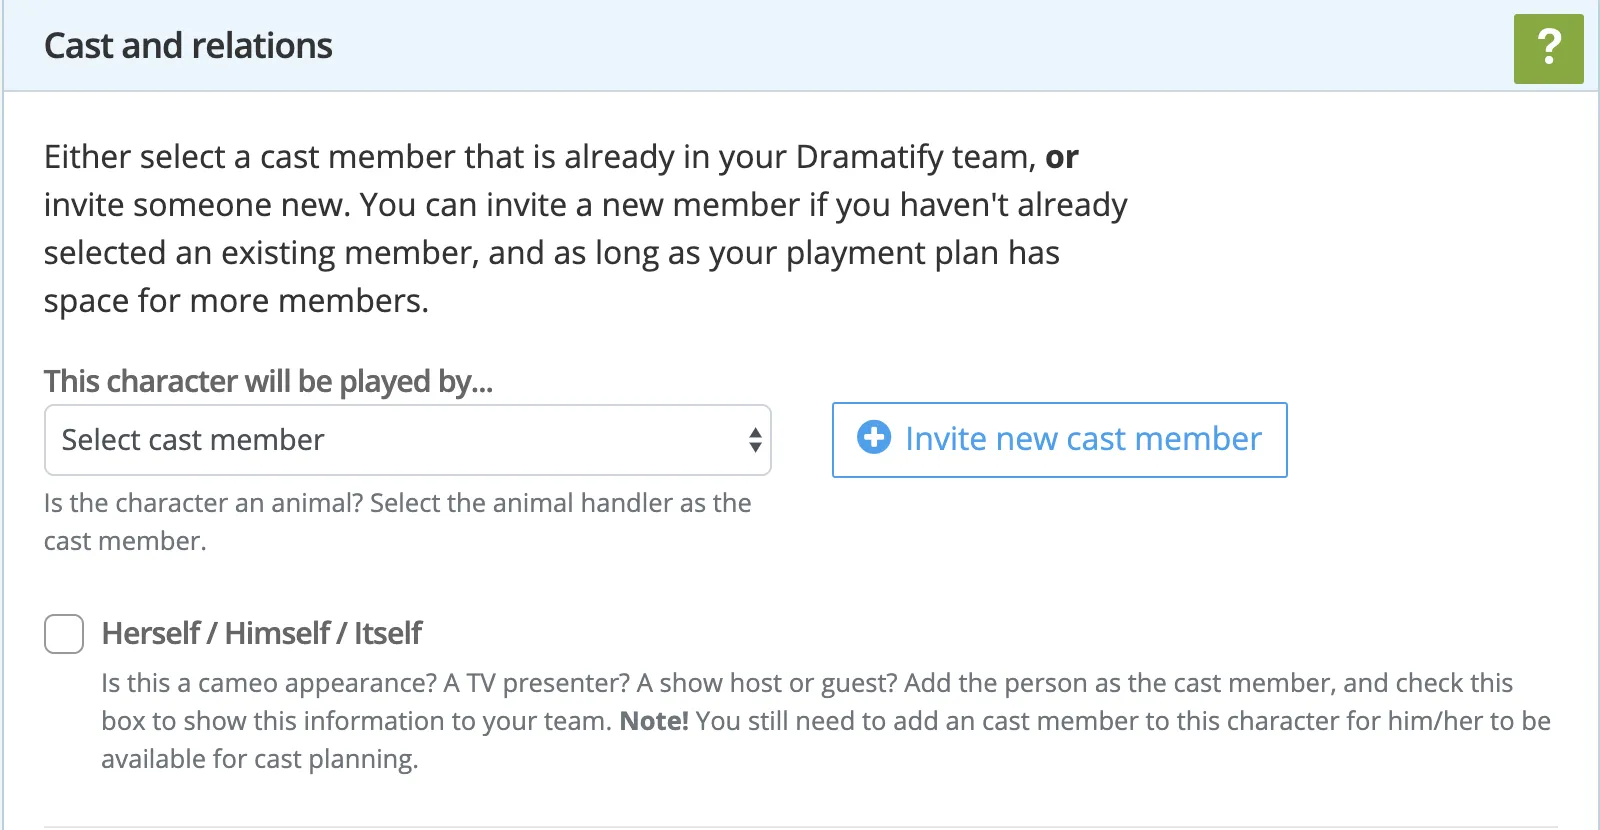
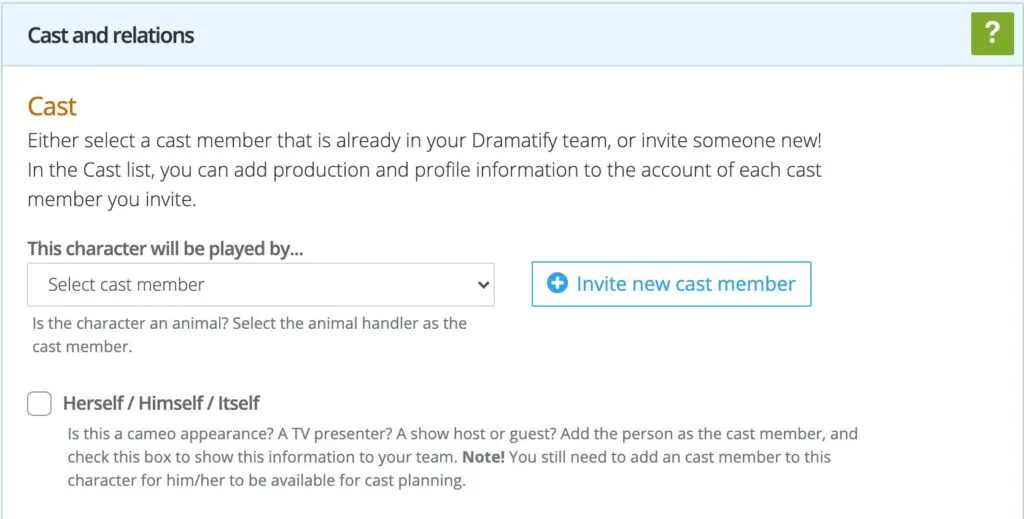
For documentaries and non-fiction, add the real name and check “This character is played by Herself/Himself/Itself.”
You must add the cast member via dropdown or by clicking Invite new cast member.
Adding characters & atmosphere cast during breakdown
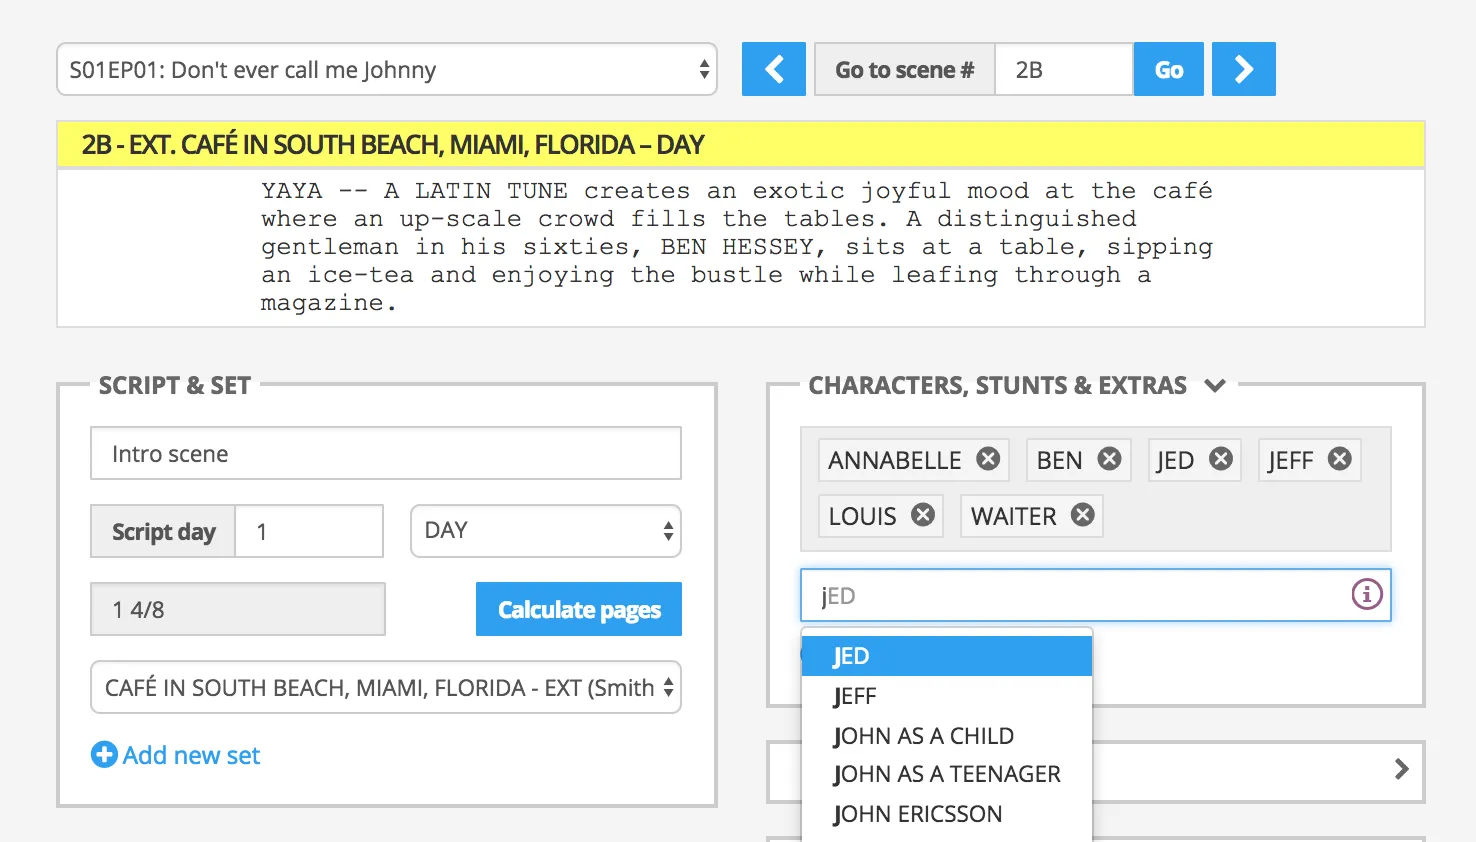
Adding existing characters
Just start writing the first letters of an existing character and Dramatify will suggest alternatives.
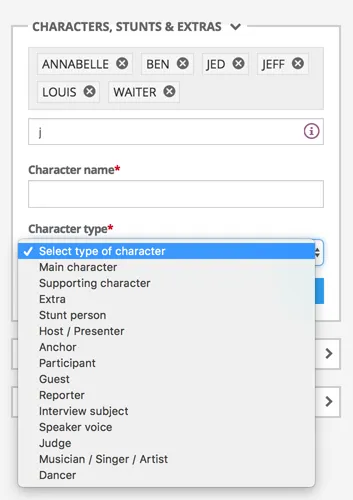
Adding new characters
To add a new character, just click the link Create new character (hidden under the name dropdown) and you’ll get a popup window.
Adding atmosphere
Similar process: type to find existing groups or click Create new atmosphere group.
Note: If you have imported a screenplay, you’ll find all imported characters already in place.
Adding a cast member to a character
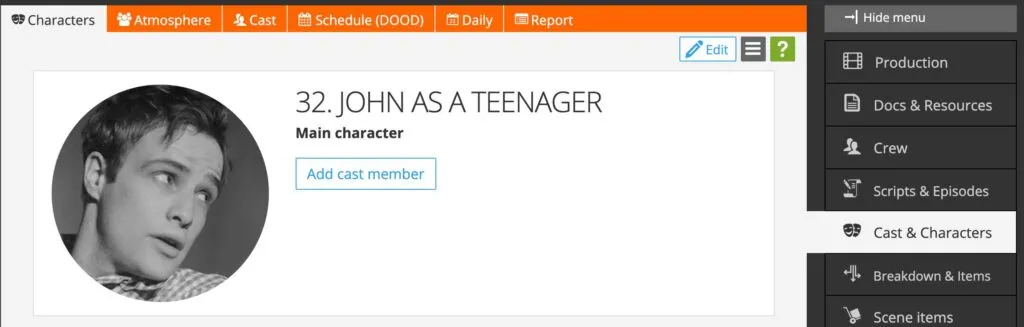
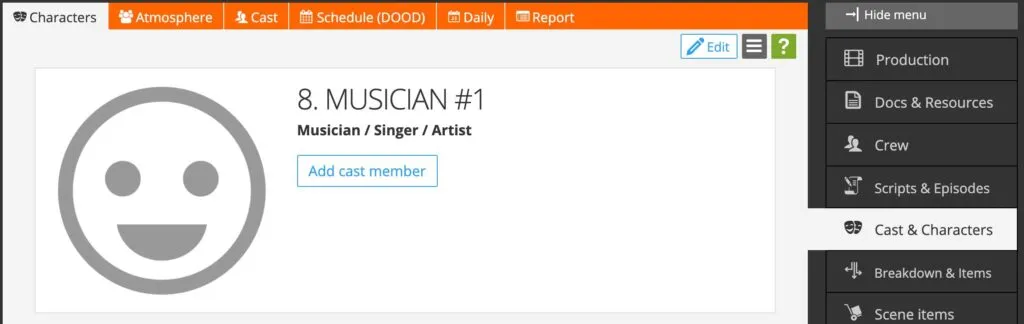
How to add a cast member
- Click Cast & Characters and select the character
- Click Add cast member
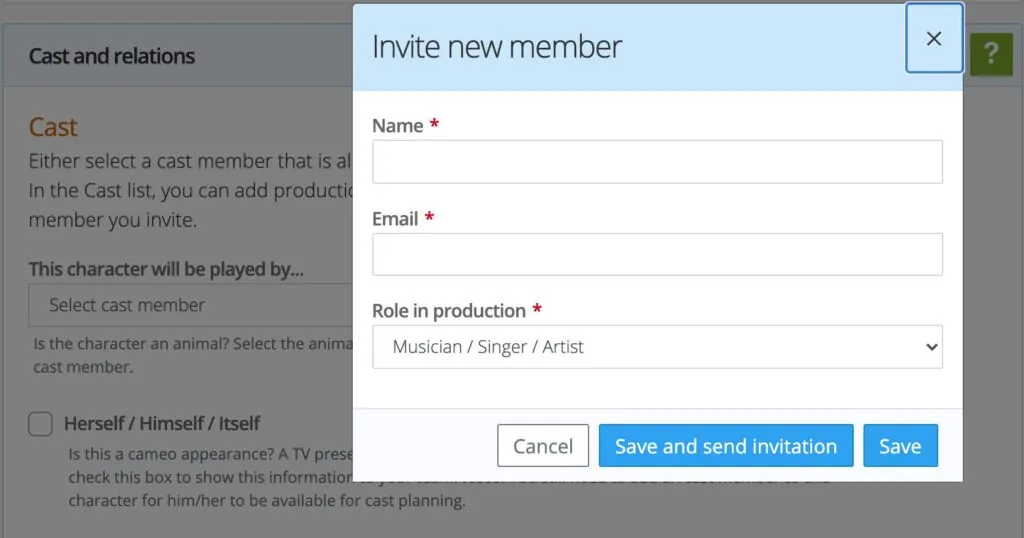
- Use the dropdown to add an existing member or click Invite new cast member
- Choose to send the invitation immediately or save it for later
Re-casting / changing the cast member for a character
To change the cast member for a character, go to the character’s page and click on Edit in the upper right corner.
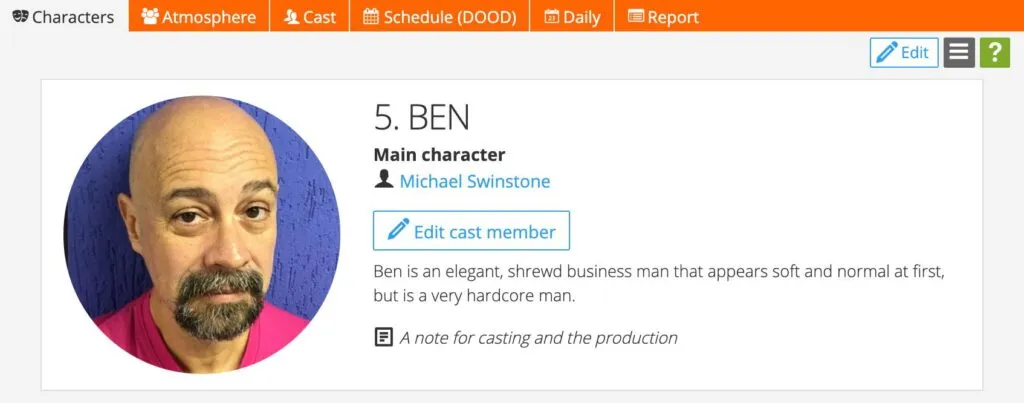
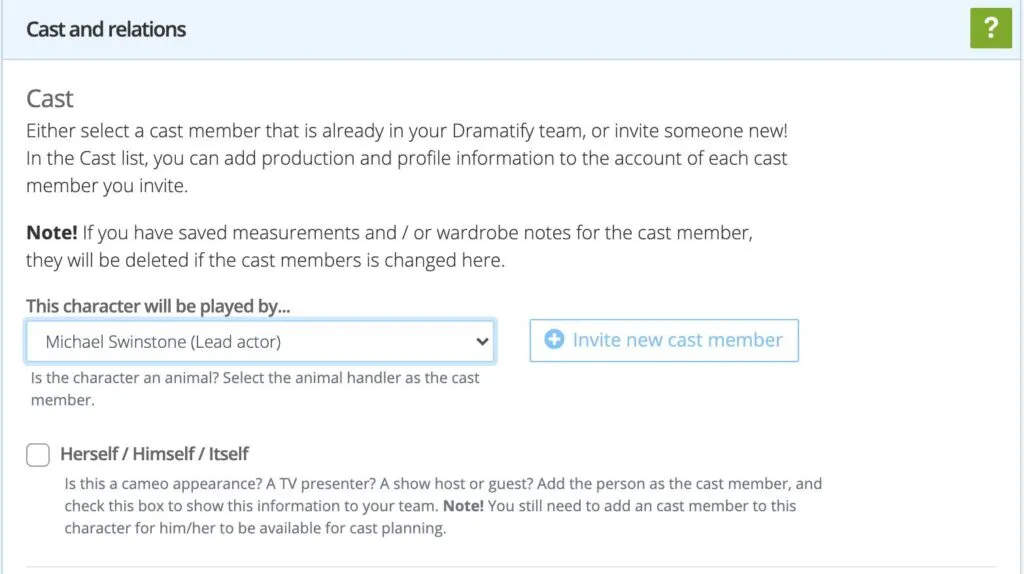
Options include:
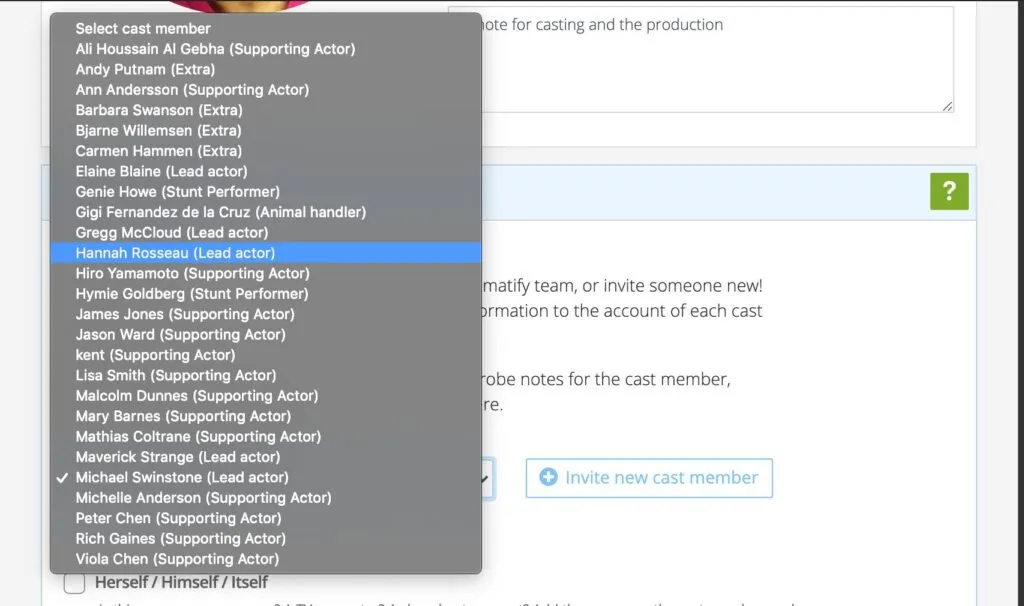
- Select another existing cast member in the dropdown
- To add an entirely new cast member: use the dropdown, select “Select cast member”, then click Invite new cast member
Removing or shutting off access for a cast member
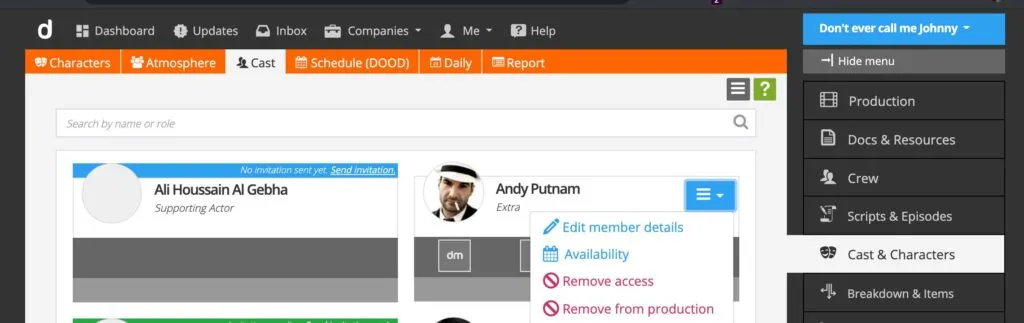
To remove access without deleting production information:
- Navigate to Cast & Character in the sidebar
- Click Cast in the orange toolbar
- Find the cast member
- Mouse over the upper right corner of the profile card
- Select Remove Access
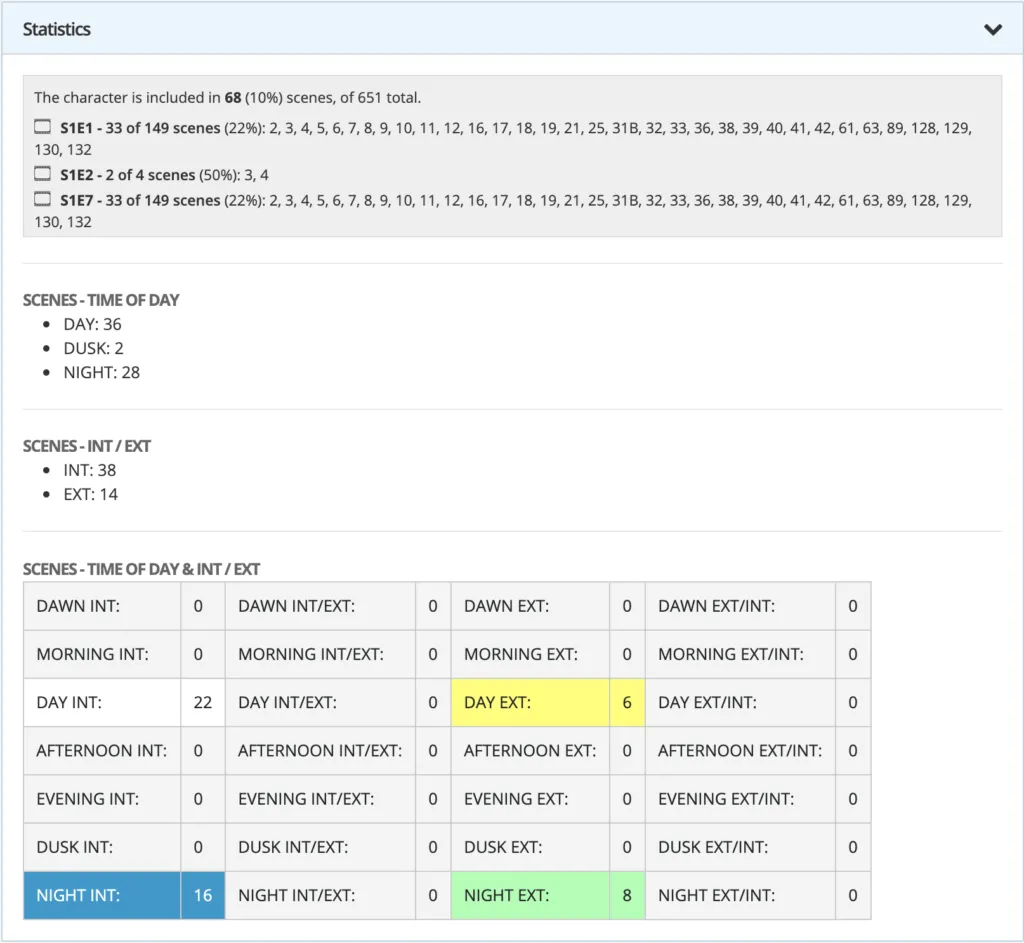
Character statistics
Available on the Cast & Character page beneath the basic information. For drama, it’s a useful tool for in-depth statistics for scheduling, budgeting and casting from the character page.
Accurate statistics depend on scenes being categorized with int/ext and time of day during import. Verify scenes with non-standard designations or non-speaking characters.
Editing and deleting characters
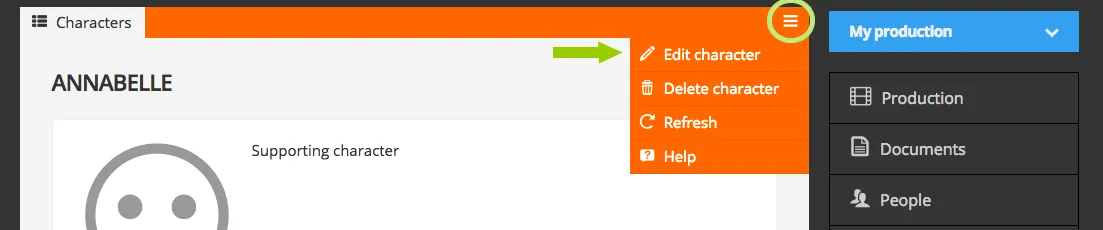
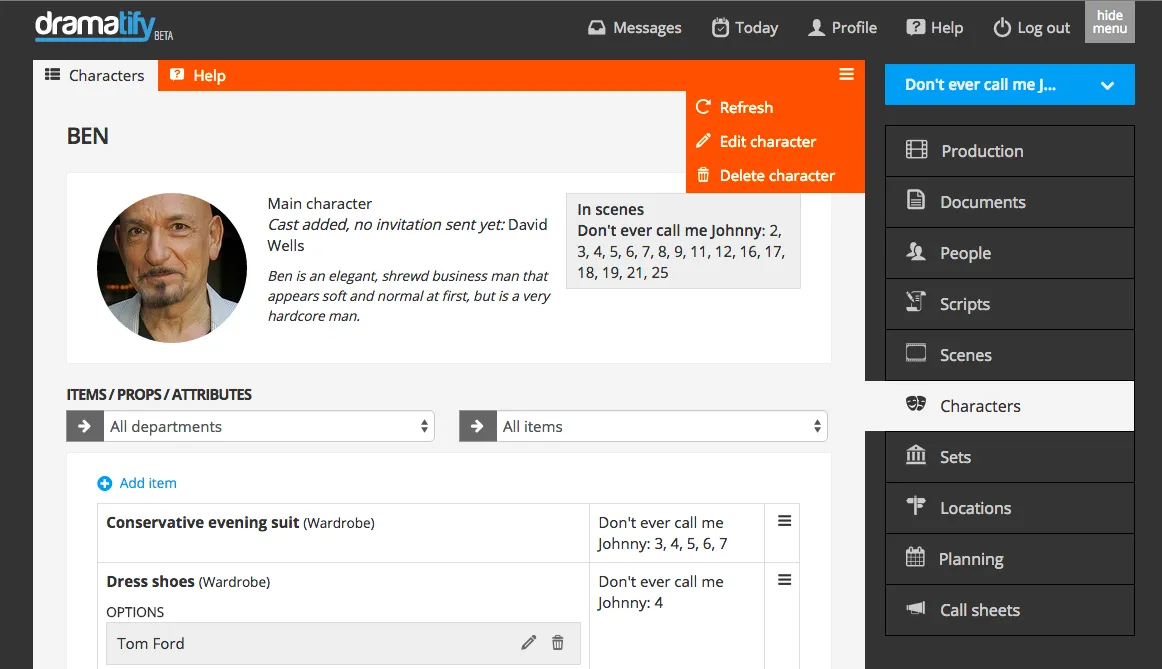
You can edit the information about a character at any time, as well as connect it with a cast member.
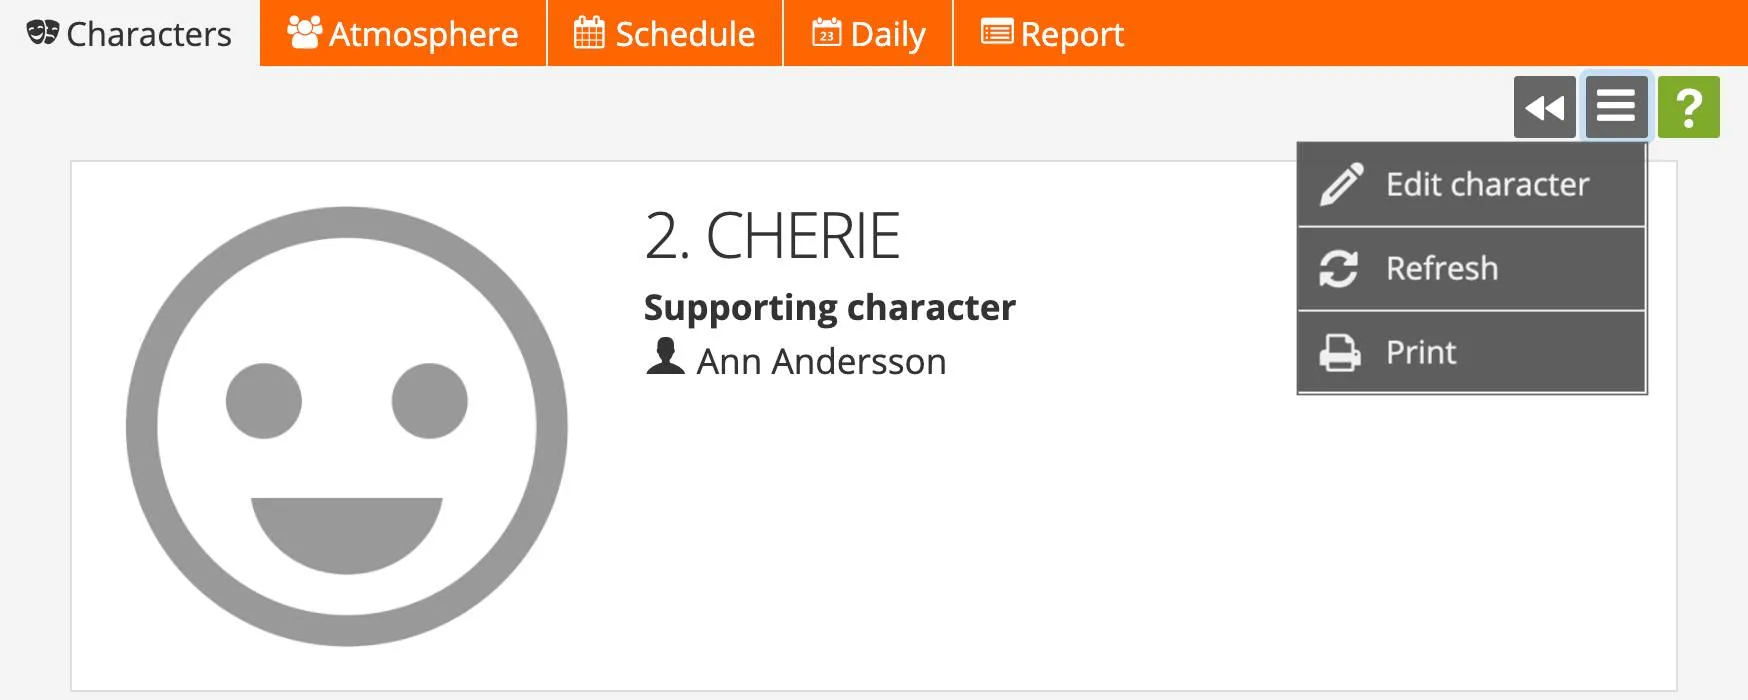
To edit any core information — name, character type, picture, bio/description and connected cast member — click on Edit character in the toolbar. To delete a character, select Delete character.
Adding and editing character scene items outside of the breakdown
Scene items
Scene items are any items like props, wardrobe, special effects etc. that is mentioned in the script. Anything specifically mentioned in the script is usually added during breakdown.
In the middle of the page you find all the scene items that have been added and you can filter them on department. Any admin and anyone belonging to the wardrobe, props and hair & makeup teams can add to scene items.
Persistent and non-persistent items
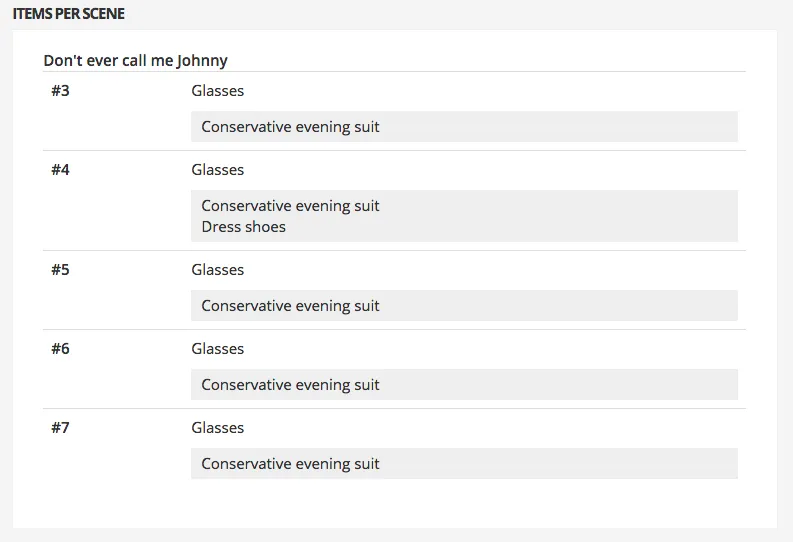
A persistent item is something that a character always appears with, like glasses or a scar, and once added, this scene item is automatically added to every scene the character appears in.
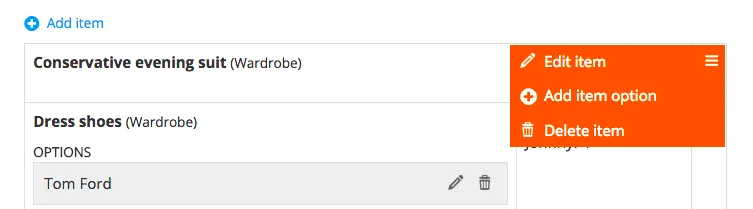
Scene item options
To those you can add scene item options — any alternatives you want to list. If the scene item is a jacket, you can use the scene item options to add jackets in different colors, different brands or models.
The Line Counter
How the lines are counted
A line is 60 characters including commas, dots, empty spaces, etc. If the rest of that dialogue line is under 10 extra characters, i.e. below a total of 69 characters, it’s still counted as one line. A dialogue of over 70 characters is counted as two or more lines. A one-word line, i.e. “No” or “Oh”, is counted as one line.
In the report, you’ll see the total lines per character and episode. If you do a feature, the line count is presented for the entire film.
Adding Cast and Character images
Adding a character profile image
At the top of the character page, click on the Edit menu and select Edit character.
Click Select image or drag and drop the image on the larger square around the button to upload the image you want to portray the character in the character list and on the top of the character page.
The Cast & Characters image gallery
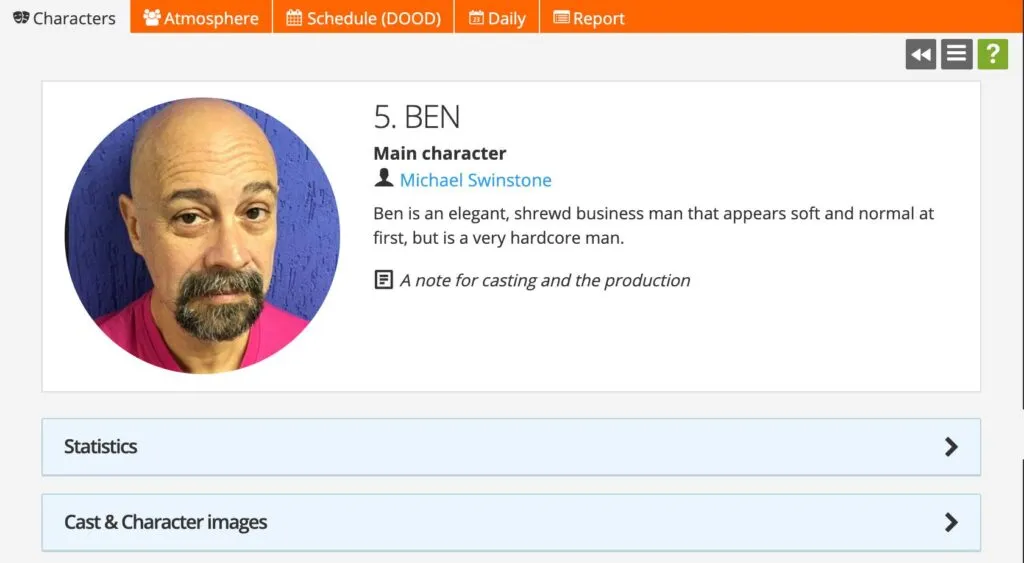
The Cast & Character image gallery is right underneath the Statistics accordion. It’s a feature for adding any kind of Cast & Character images you like: inspiration images, casting images, audition images etc.
Adding images
Simply drag and drop images on the “Drop images” box (max 10 at a time), OR click on Select images to upload from your computer, tablet or phone.
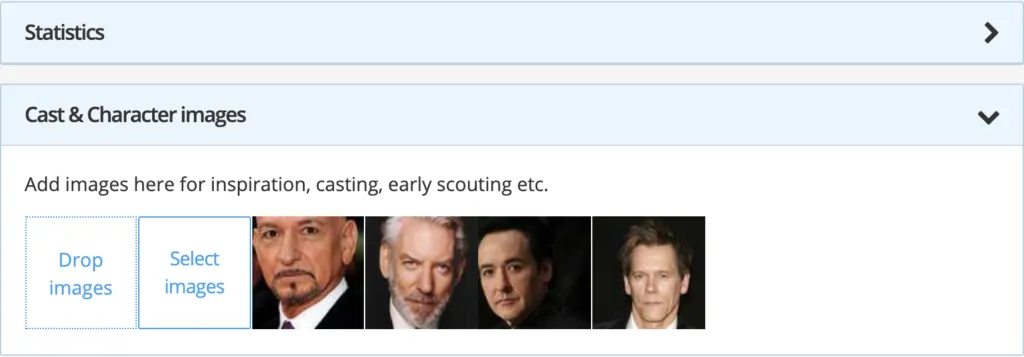
Viewing images and adding image descriptions
To view the images larger as well as adding an image description, just click on the image where you want to start.
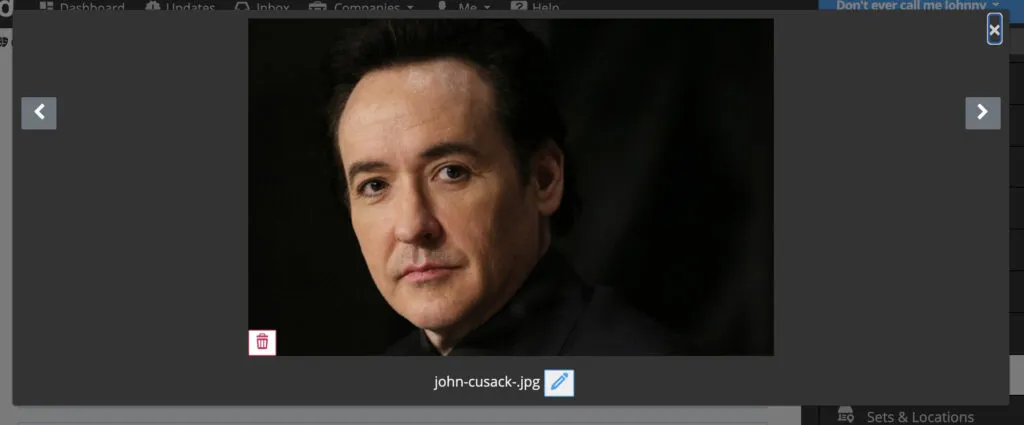
Note! Character permissions
Only users with Production Admin permission as well as teams belonging to wardrobe, props and hair & makeup will be able to see the Character nav tab and add, edit, administrate and delete Characters.
Was this article helpful?
Thanks for your feedback!