DPR — Working with the Daily Production Report
Last updated:
Dramatify makes your daily production report almost automatic by aggregating information that you and your team already have added to Dramatify, and then adding a smart signing function.
Where to find the DPR
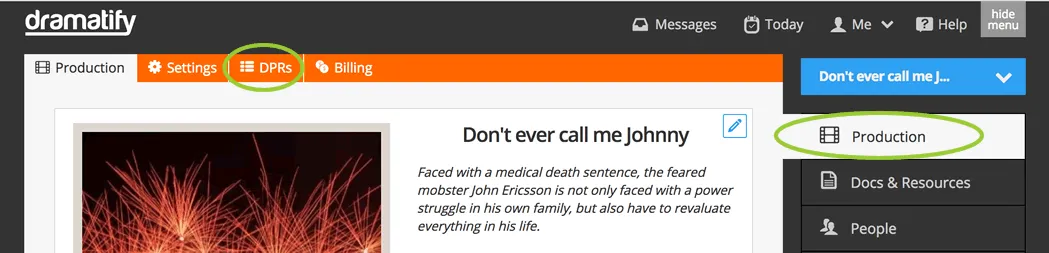
The DPR (Daily Production Report) is accessed via Production > DPR in the orange toolbar. Only Admin-level users can view and access this menu item.
Before you start
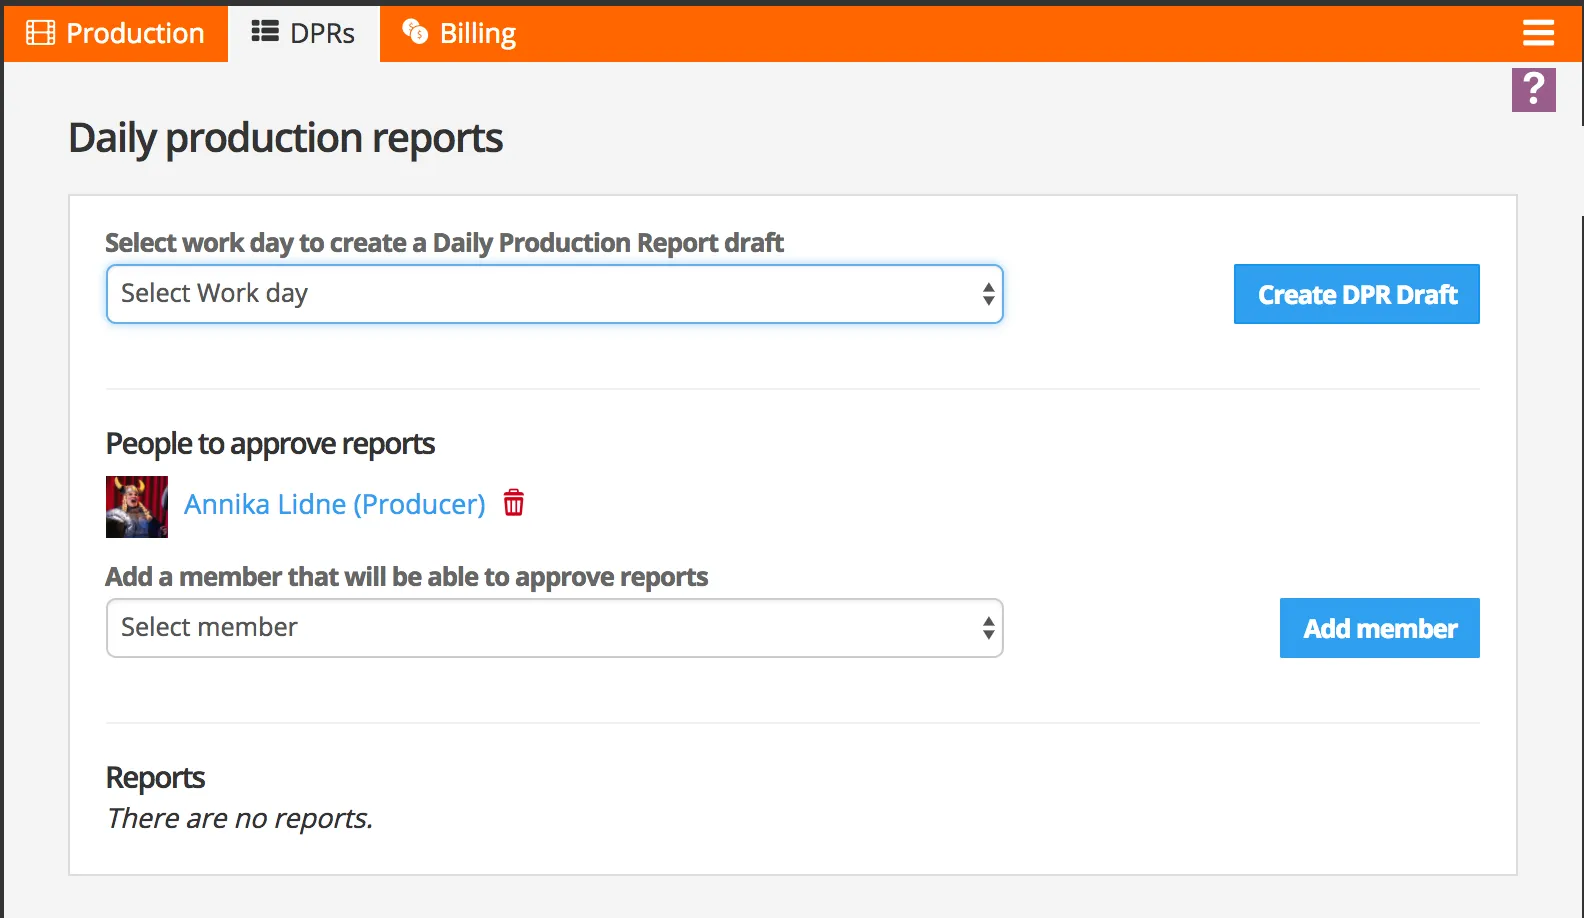
Select workday
Users select a workday from a dropdown and click the blue button to create a draft. Key points include:
- “Workday” refers to shooting days or any scheduled production day on the Planning > Days page
- Only today’s date and past dates with scheduled workdays appear in the dropdown
- Avoid creating DPR drafts until all meals are checked and cast & crew are checked out for maximum automation benefits
- Review automatically-added information before manually editing
- To update with new automatic information, delete the draft and recreate it (manual additions will be lost)
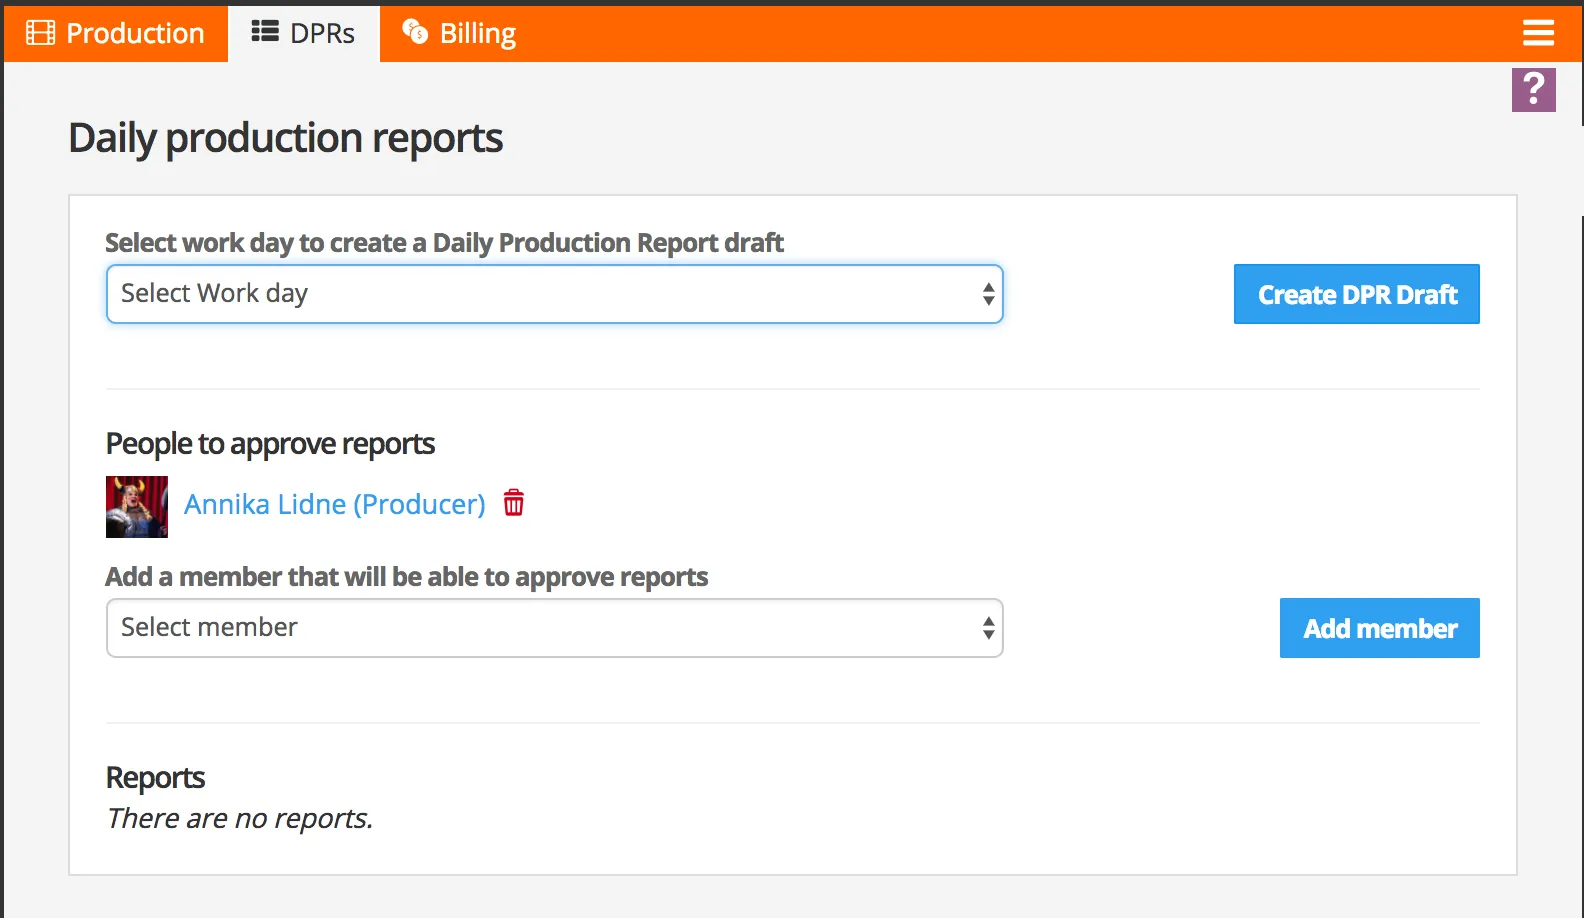
Signers
Designate DPR signers from team members. Signers can vary between different days/locations or remain consistent throughout production.
Section 1: DPR header information
The header automatically aggregates pre-production data.
| Field | Source | How to change |
|---|---|---|
| Title | Production | Click edit icon beside title |
| Day started | Production Settings | First day of “In production” date |
| Est. End Date | Production Settings | Last day of “In production” date |
| Day X of Y | Planning | Workday number / total scheduled days |
| Company info | Production company profile | Edit menu in profile dropdown |
| Principals | People | Check “Principal Member” permission |
| Status | DPR draft | Click edit icon in header |
| Days estimated | Production Settings | Set in Settings (note: differs from Day X of Y) |
| Days passed | DPR draft | Automatic but manually editable |
| Ahead & Behind | DPR draft | Click edit icon in header |
The difference between “Day X of Y” and Days Estimated
“Day X of Y” is a dynamic number reflecting scheduled production workdays from the Planning > Days overview. “Days Estimated” is a fixed number set in Production > Settings, allowing tracking of schedule delays or advances.
Section 2: Adding times
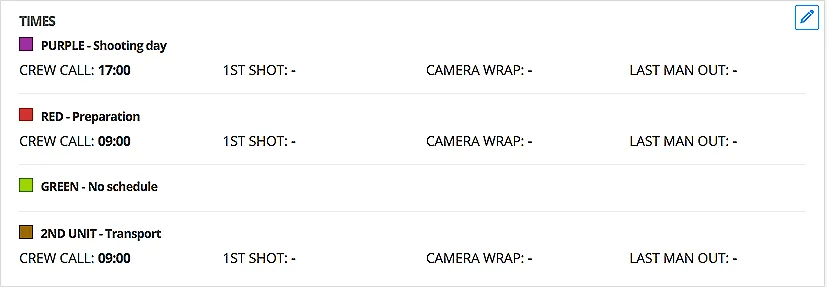
The Times section automatically adds team call times. Users click the section edit icon to add:
- First shot time
- Camera wrap time
- Last man out time
Delayed crew calls can be edited manually.
Section 3: Locations
Locations populate automatically from the call sheet through scene-set-location links. To add missing scenes, update the call sheet directly.

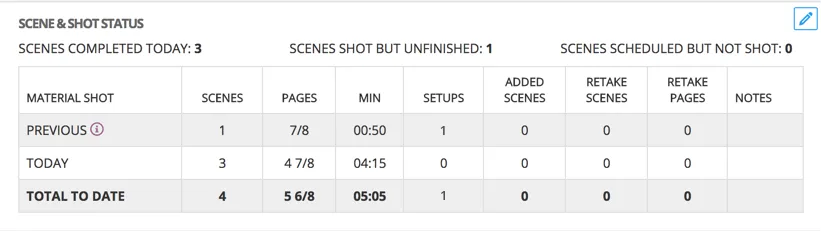
Section 4: Scenes & shot status
This section operates semi-automatically:
- Previous report numbers import automatically (read-only)
- Today’s scheduled scenes with status checks appear in the “Today” row
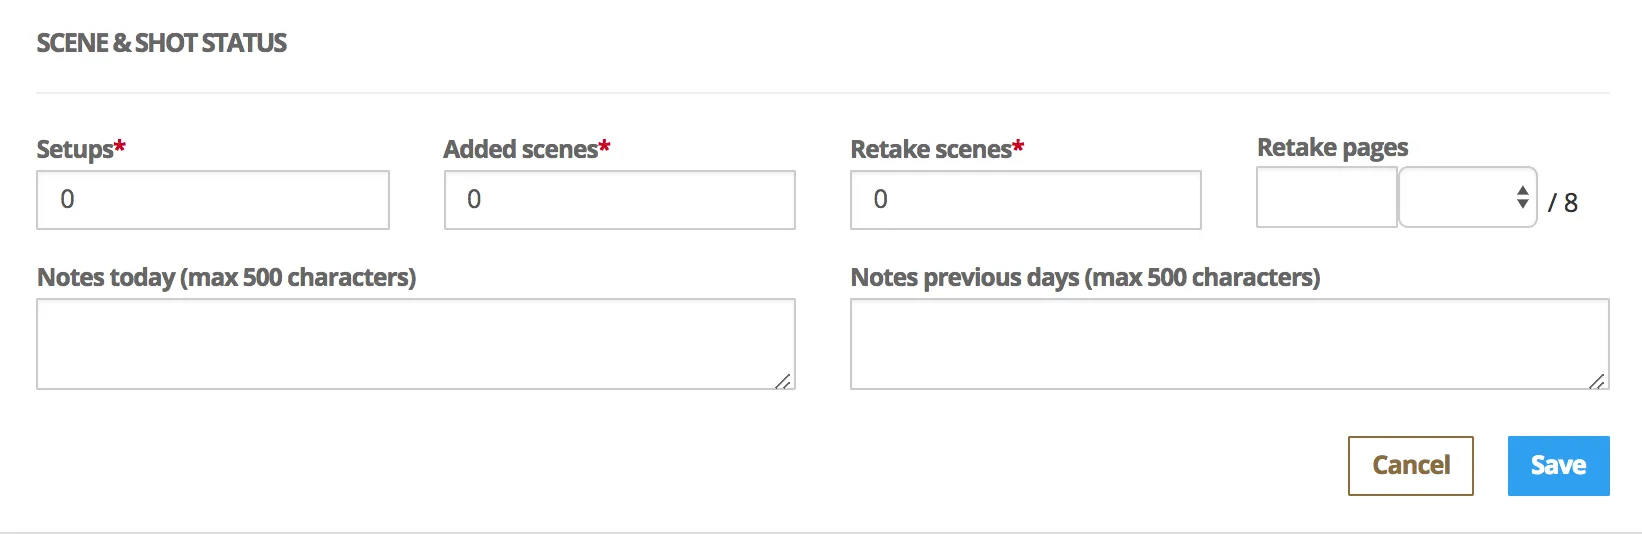
- Users manually add setups, added scenes, retaken scenes, pages, and notes
- Dramatify automatically sums information and transfers totals to the next day’s “Previous” row upon signing
Note: If a filed DPR is rejected, users can manually edit Scenes today, Pages today, and Estimated scene length.
Section 5: Media usage
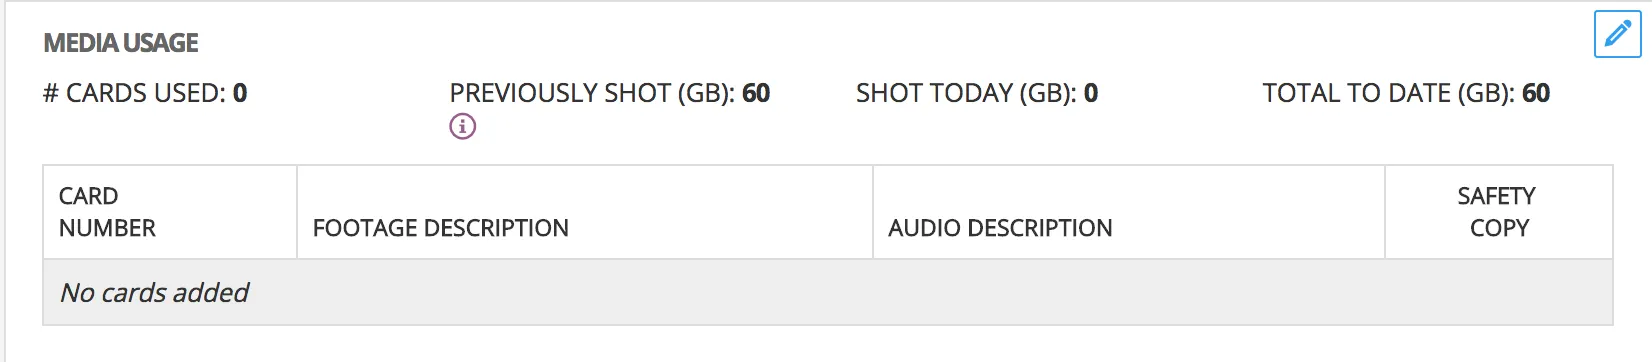
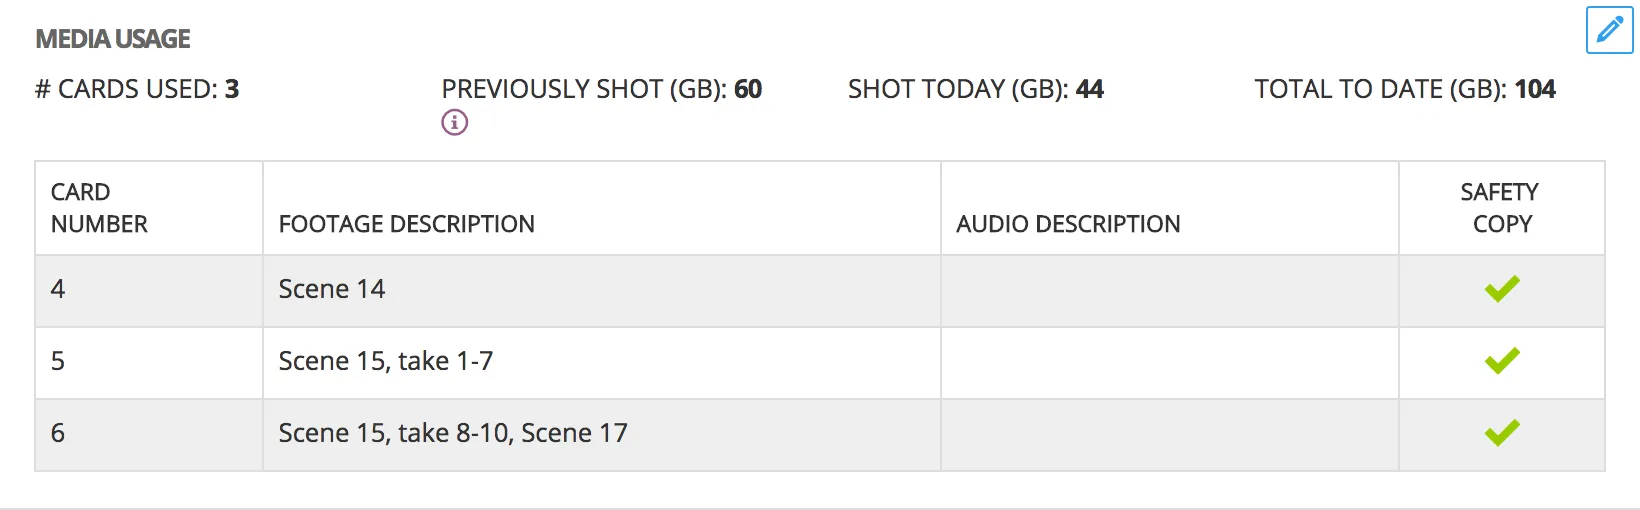
This mostly manual section requires users to click the edit icon and add:
- Cards used
- Footage description
- Audio description
Dramatify sums the information and adds it to previous days’ media usage. (Currently designed for digital; traditional film stock support available upon request.)
Section 6: Equipment & tech notes
Completely manual section. Click the edit icon to add notes. Displays “No notes added” if empty.

Section 7: Health & safety incidents & notes
Completely manual section. Click the edit icon to add notes. Displays “No notes added” if empty.

Section 8: Crew & cast time sheet
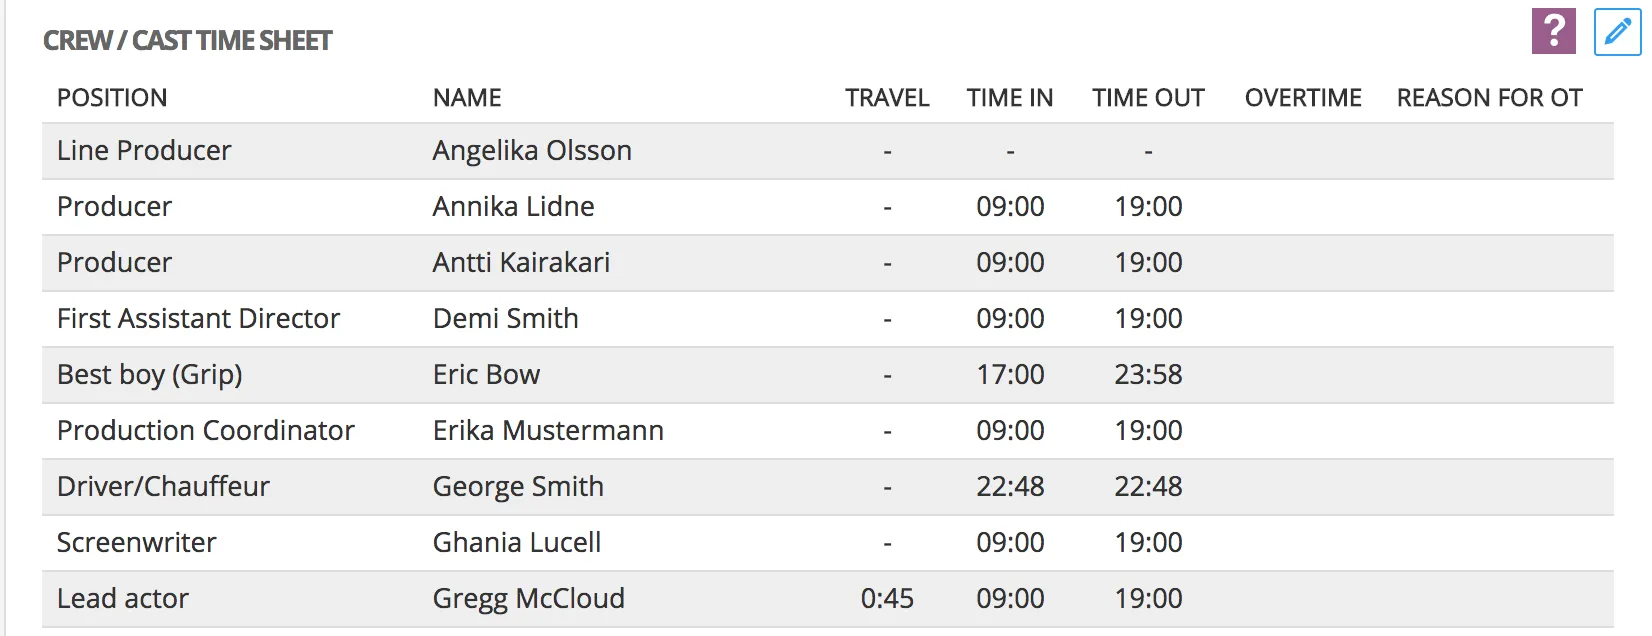
Time sheets populate automatically from the timesheet log. Only cast include automatic travel time from the daily cast schedule. Users must manually add overtime hours and notes, as overtime regulations vary by country.
Section 9: Talent release log
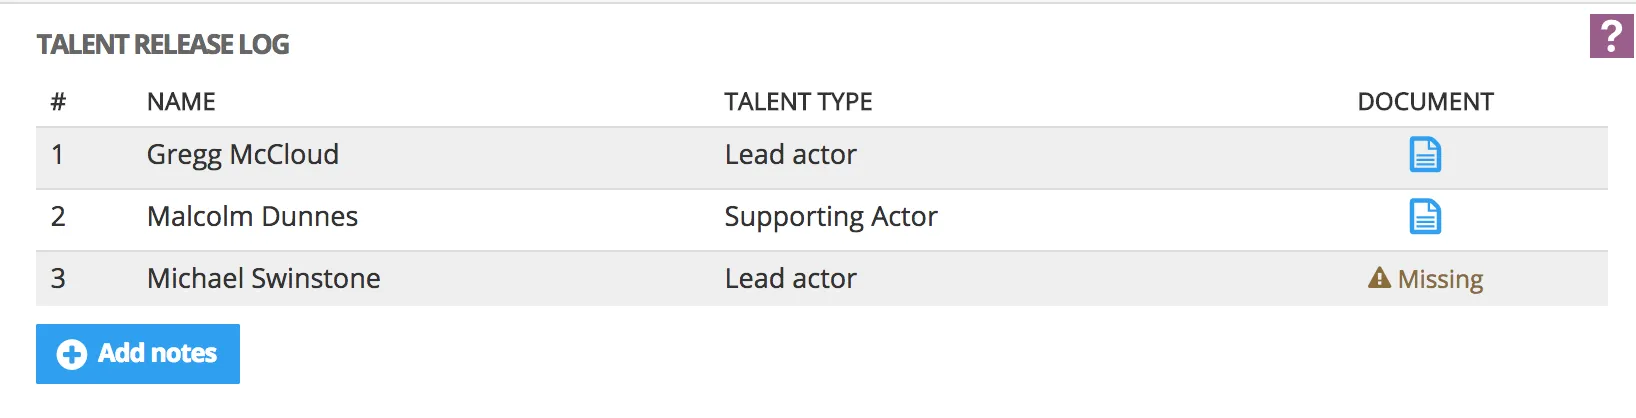
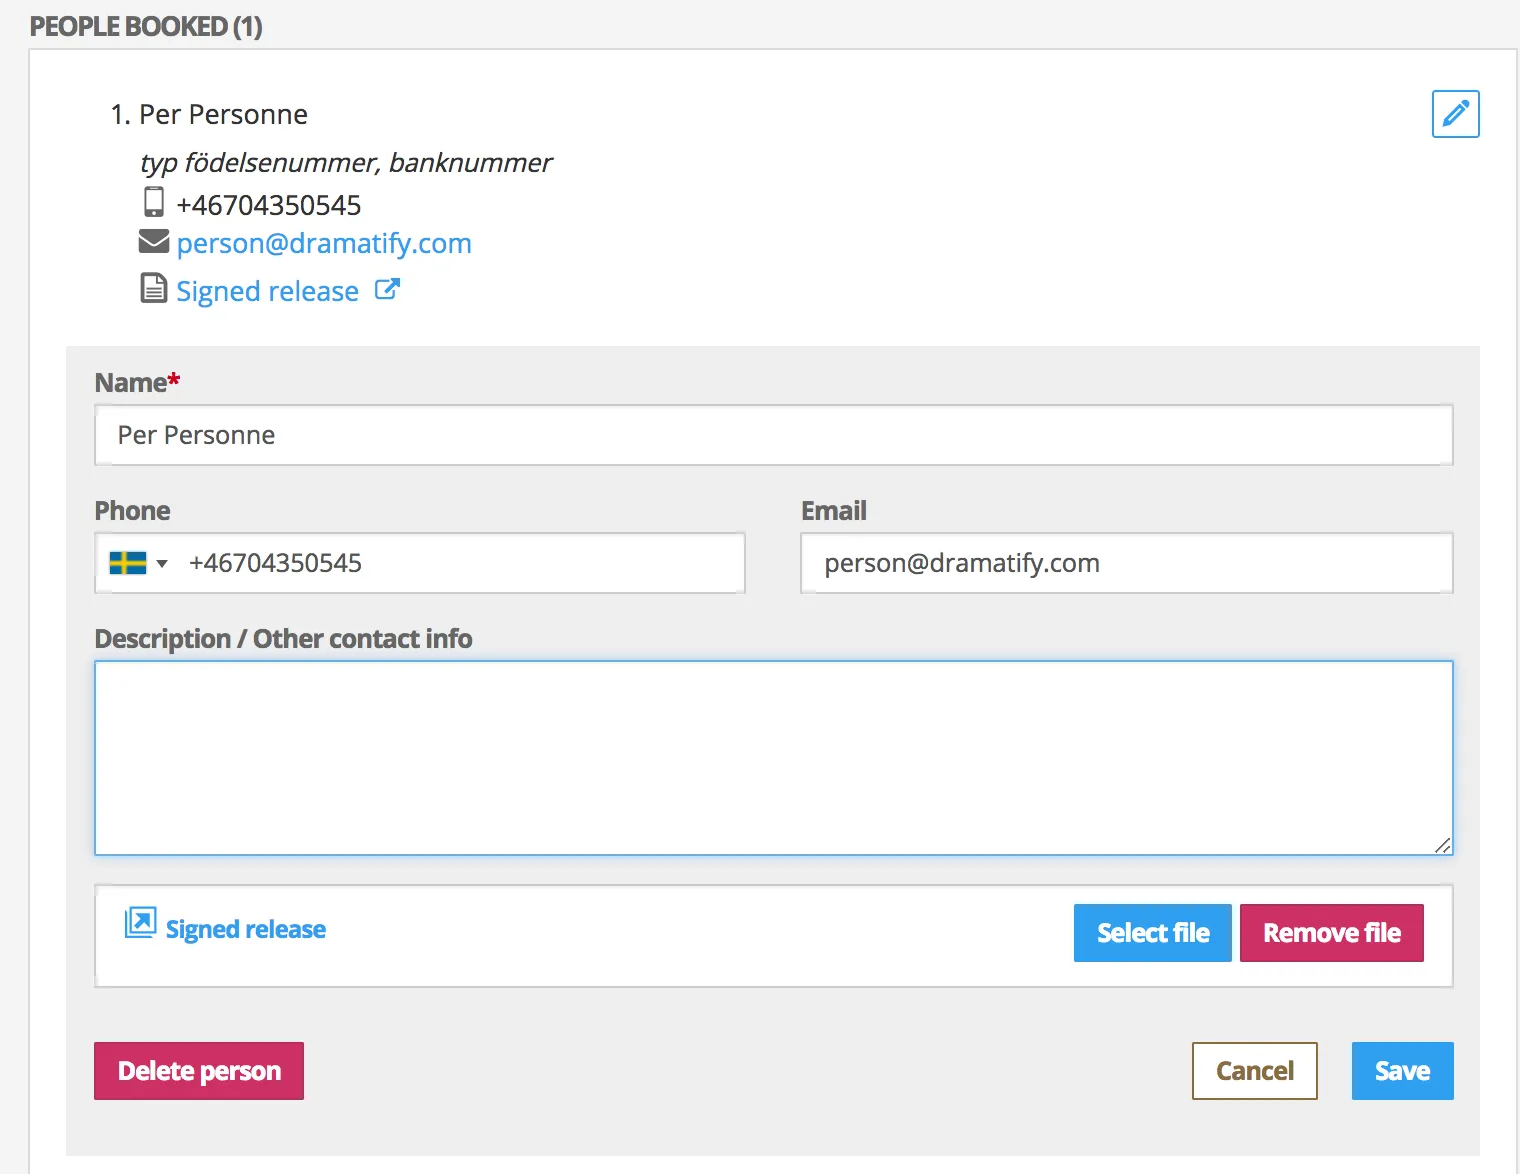
The talent release log is automatic, listing all cast scheduled for the day with release links. Missing releases are indicated. Users can add explanatory notes.
Checking for missing releases
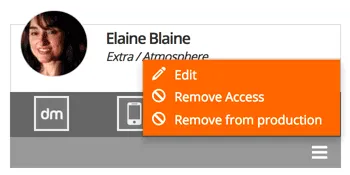
For all cast except atmosphere: Navigate to People > Report (orange toolbar). Check marks indicate releases (blue background = personal release; white background = contract). To add missing releases, find the cast member on People > Cast members, click the menu icon, select Edit, and upload at the bottom.
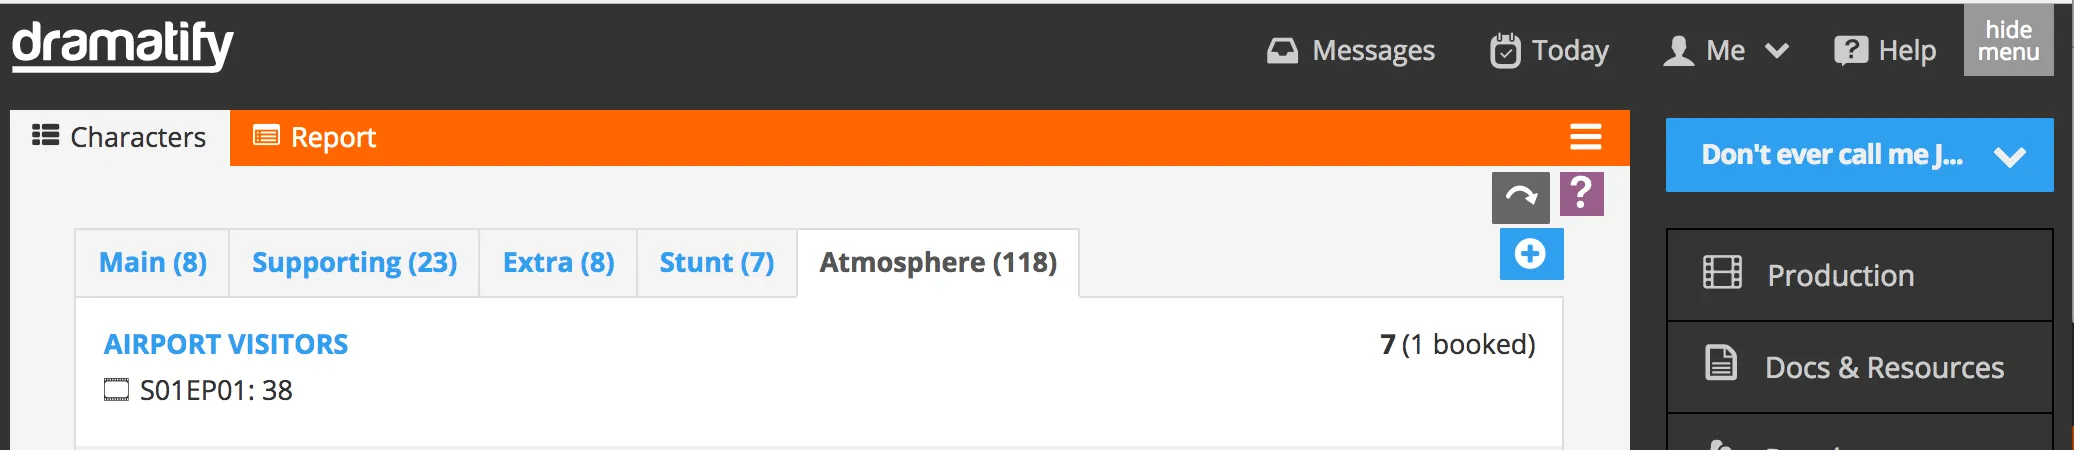
For atmosphere cast: Go to Cast & Characters > Atmosphere, select the group, and manage all atmosphere cast members, contact details, and releases.
Section 10: Location release log
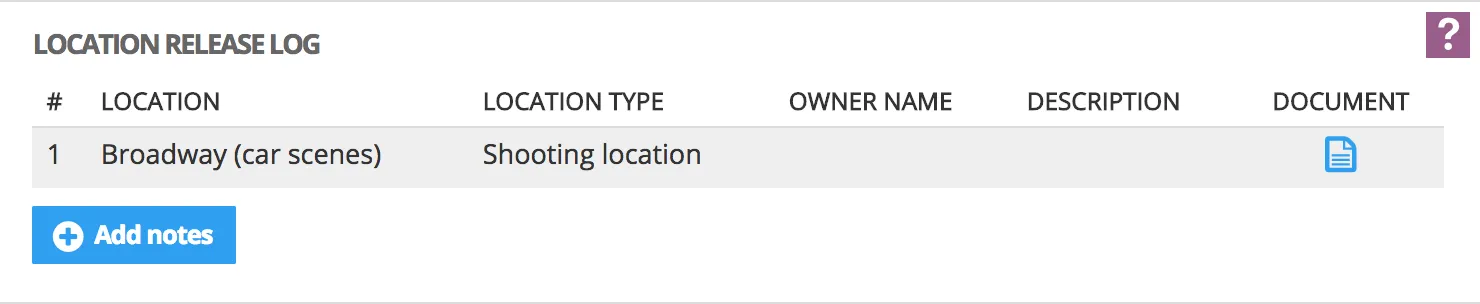
The location release log is automatic, listing all scheduled locations with release links. Missing releases are indicated.
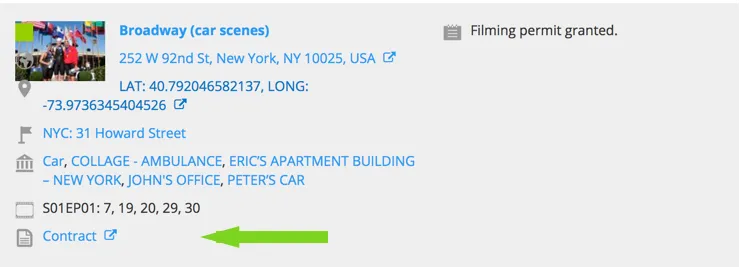
To add a release: Navigate to Sets & Locations > Locations, find the location, and click the edit icon in the location info section.
Section 11: Payments log
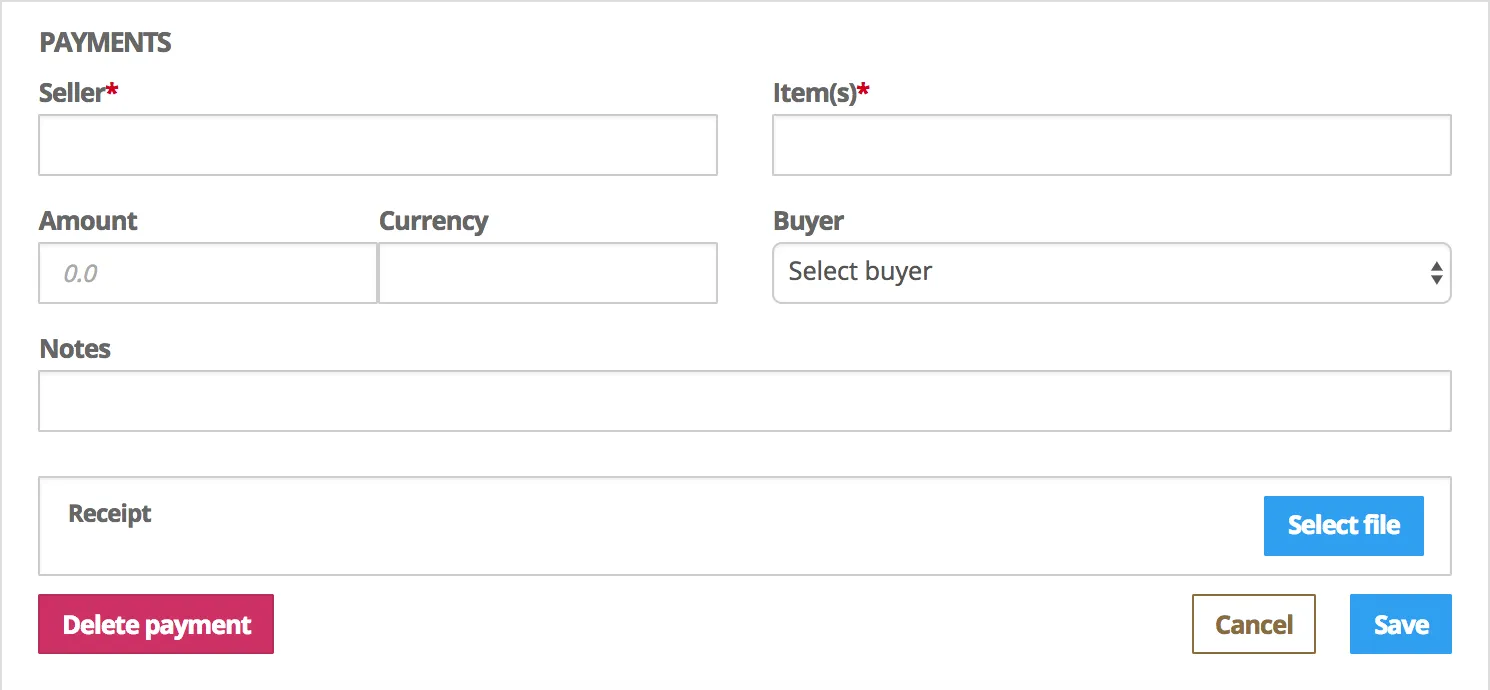
This manual section allows users to add payments, attach receipts (photos, scanned documents, or e-invoices), and designate a buyer.
Note: If all payments are in one currency, Dramatify sums the total. Multiple currencies display without totaling.

Section 12: Notes
The notes section accommodates additional comments. Click the edit icon to add notes.

Section 13: Signing the report
Users select signers by clicking the edit icon and choose individuals to approve the specific DPR. Click “Lock and send for approval,” and designated signers receive in-app messages and emails.

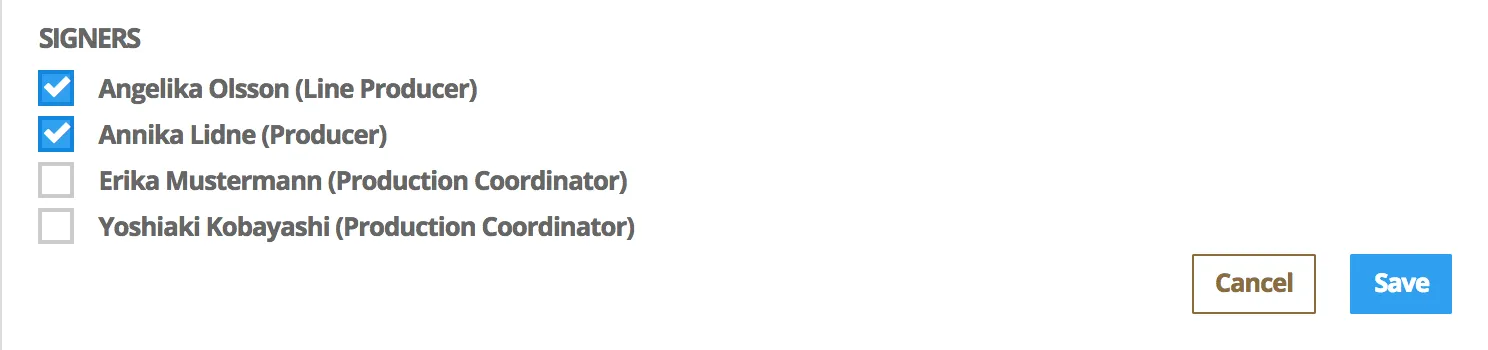

Signer options:
- Click “Approve” if all is correct
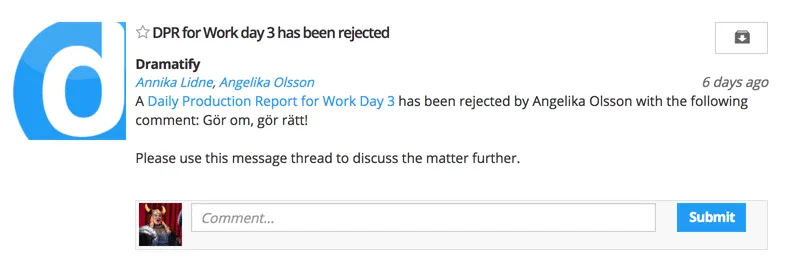
- Click “Reject” with comments to explain issues
- Signers can change their approval status if needed
When rejected, comments allow information edits. Users click “Re-send for approval” after making changes.
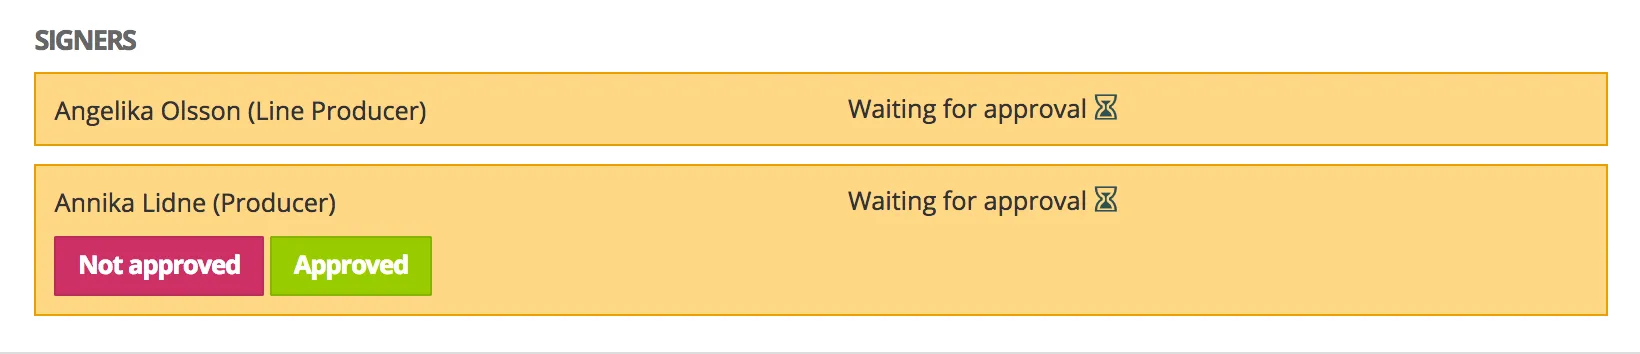
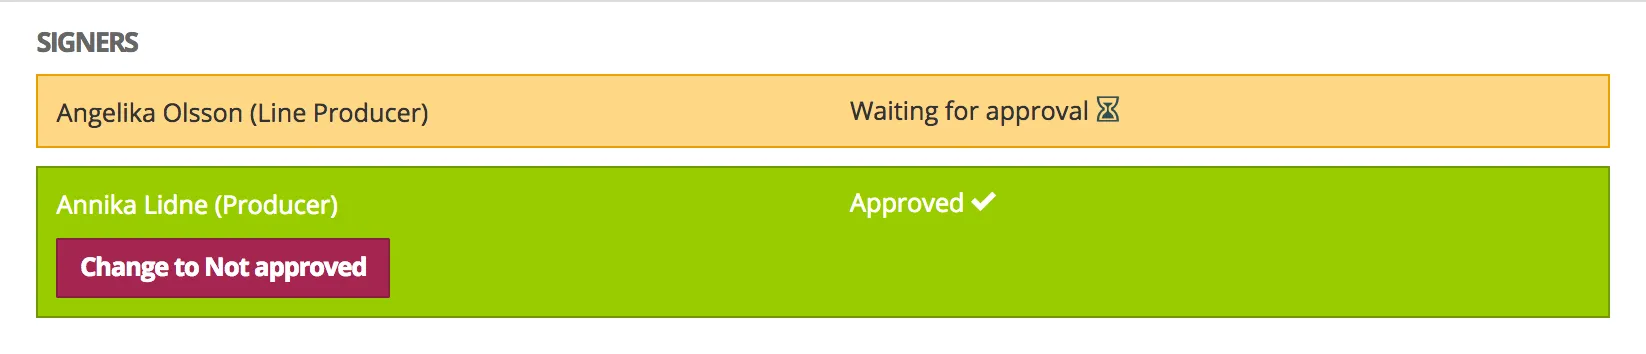

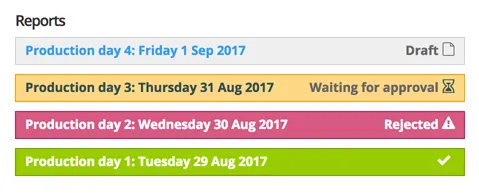
DPR list status
Approved reports are locked and cannot be changed. Executive producers and producers with Admin permissions can read them and print as PDFs for stakeholders.
Section 14: Deleting a draft
Users can delete DPR drafts at the bottom of the page. Deleting and recreating forces a data update of automatic information but loses any manually added data.
Was this article helpful?
Thanks for your feedback!